


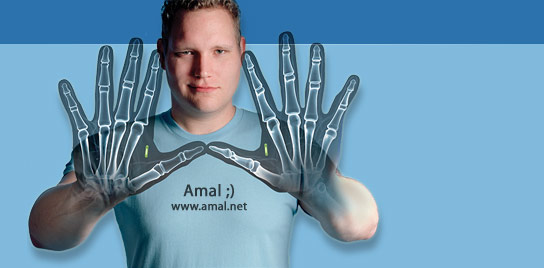




From March 2005 to March 2012 I had a 2mm by 12mm glass encased HITAG S tag implanted in my right hand. The HITAG was chosen for it’s feature set, which includes writable memory blocks, the ability to emulate EM4102 tags, and a 40 bit crypto-security feature that could help protect the tag’s memory blocks as well as the communication session with the reader itself. Last March I opted to remove this tag and replace it with a different 2x12mm tag. I posted the process to my RFID Toys forum in answer to a question posted there, and I posted photos of the procedure on Flickr.
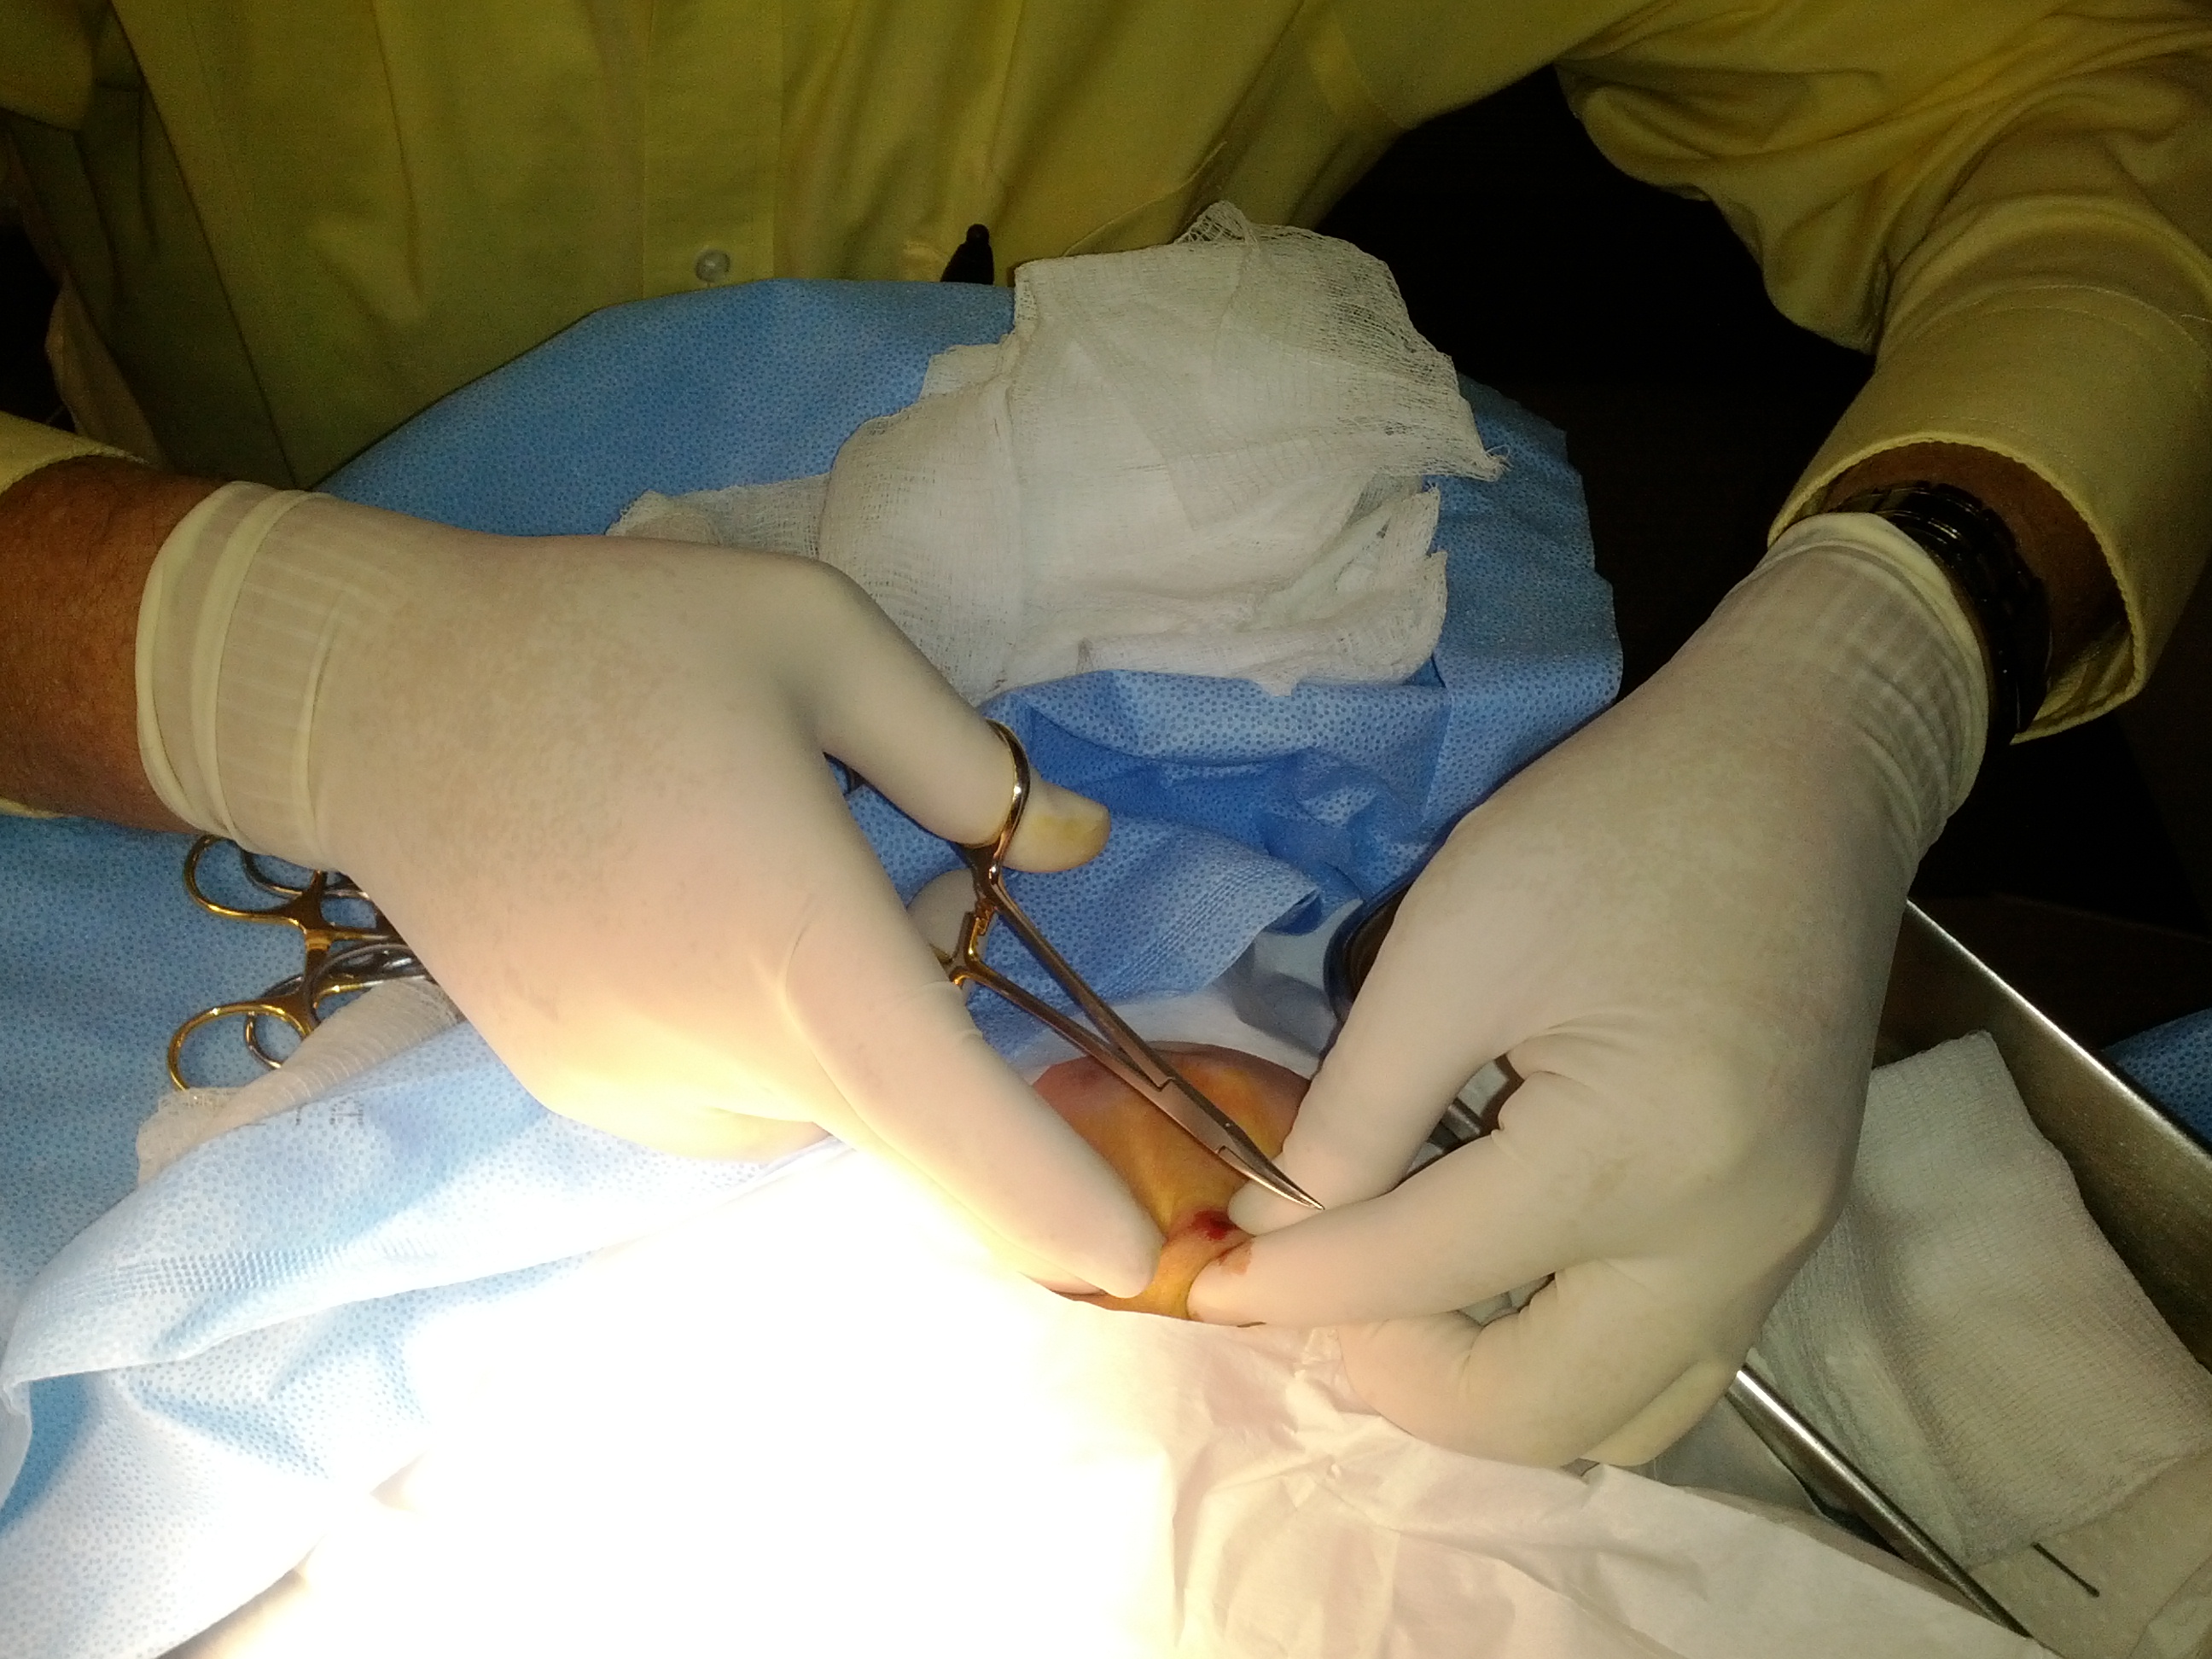
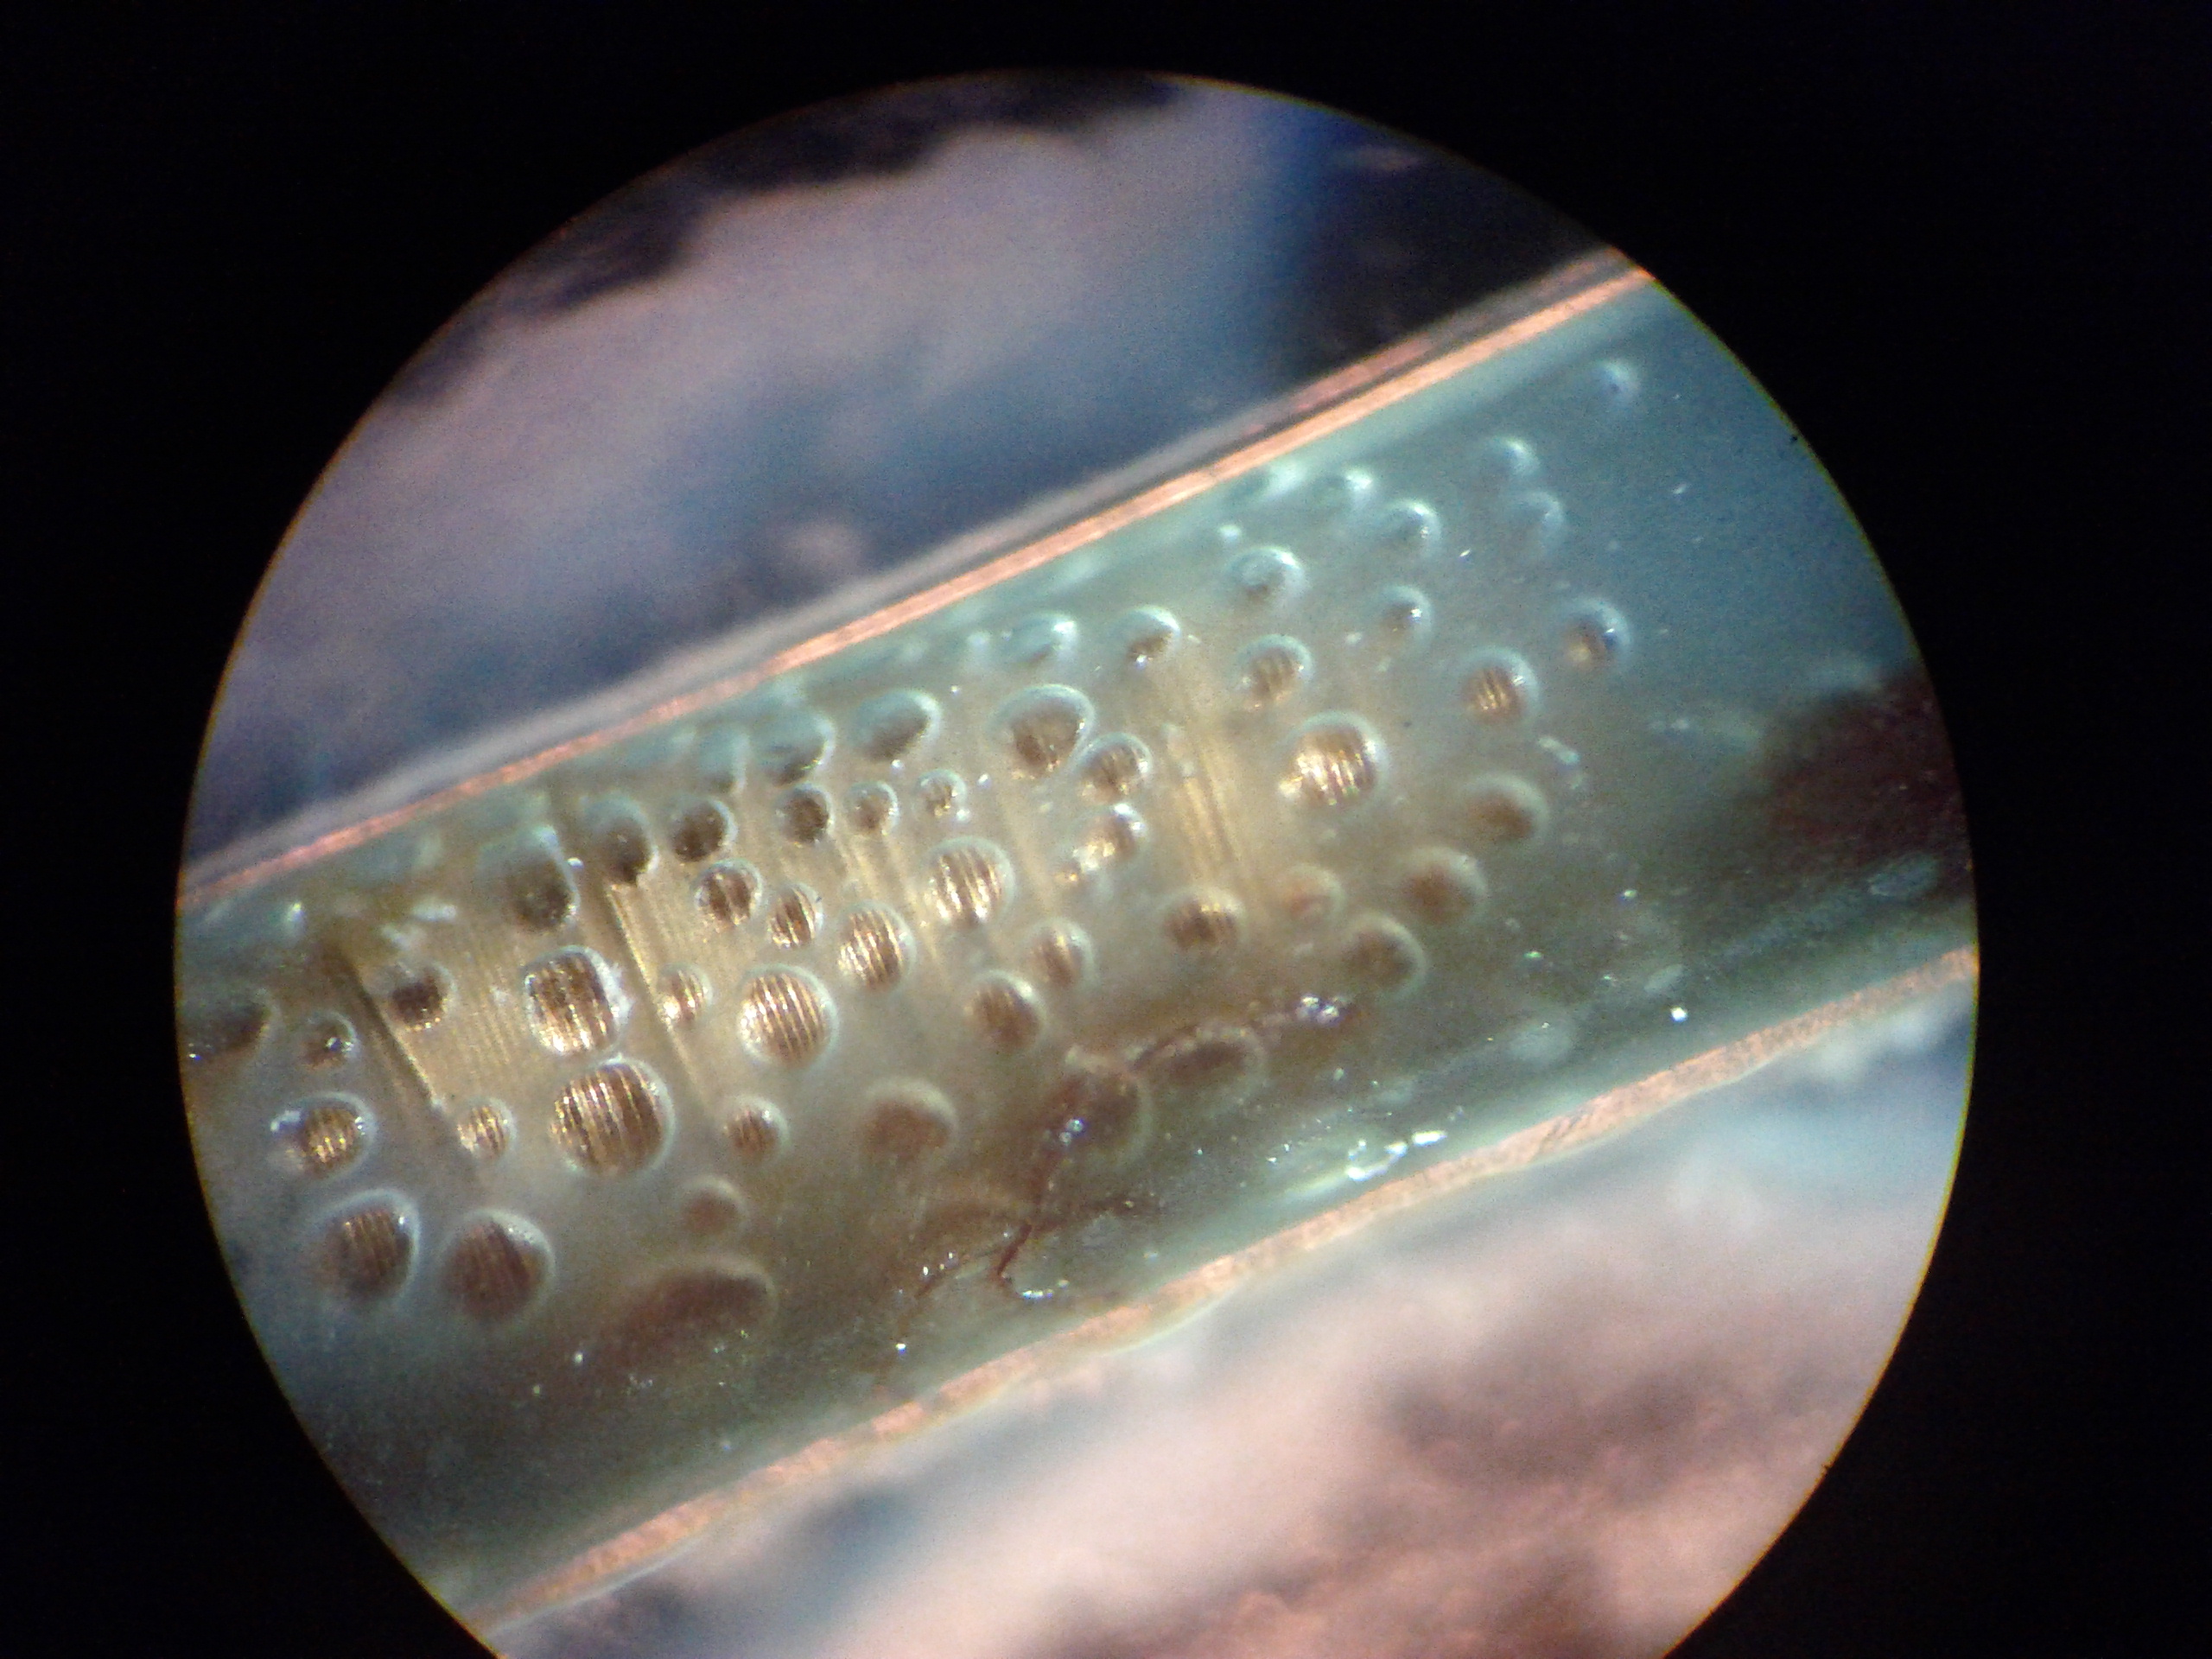
I had the HITAG in my right hand removed and replaced with a different tag. The procedure involved over 20 minutes of the doctor struggling to angle the implant and work the forceps to make a path for the implant to slide out of. Since I had 5+ years of working the implant up so people could see it, after 20 minutes of digging around, I offered to have a glove put on my left hand and work the implant for him. Within a minute we had it out. I was very happy that I chose to use an implant that had no anti-migration “biobond” coating on it, otherwise it would have taken some serious cutting to get it out.
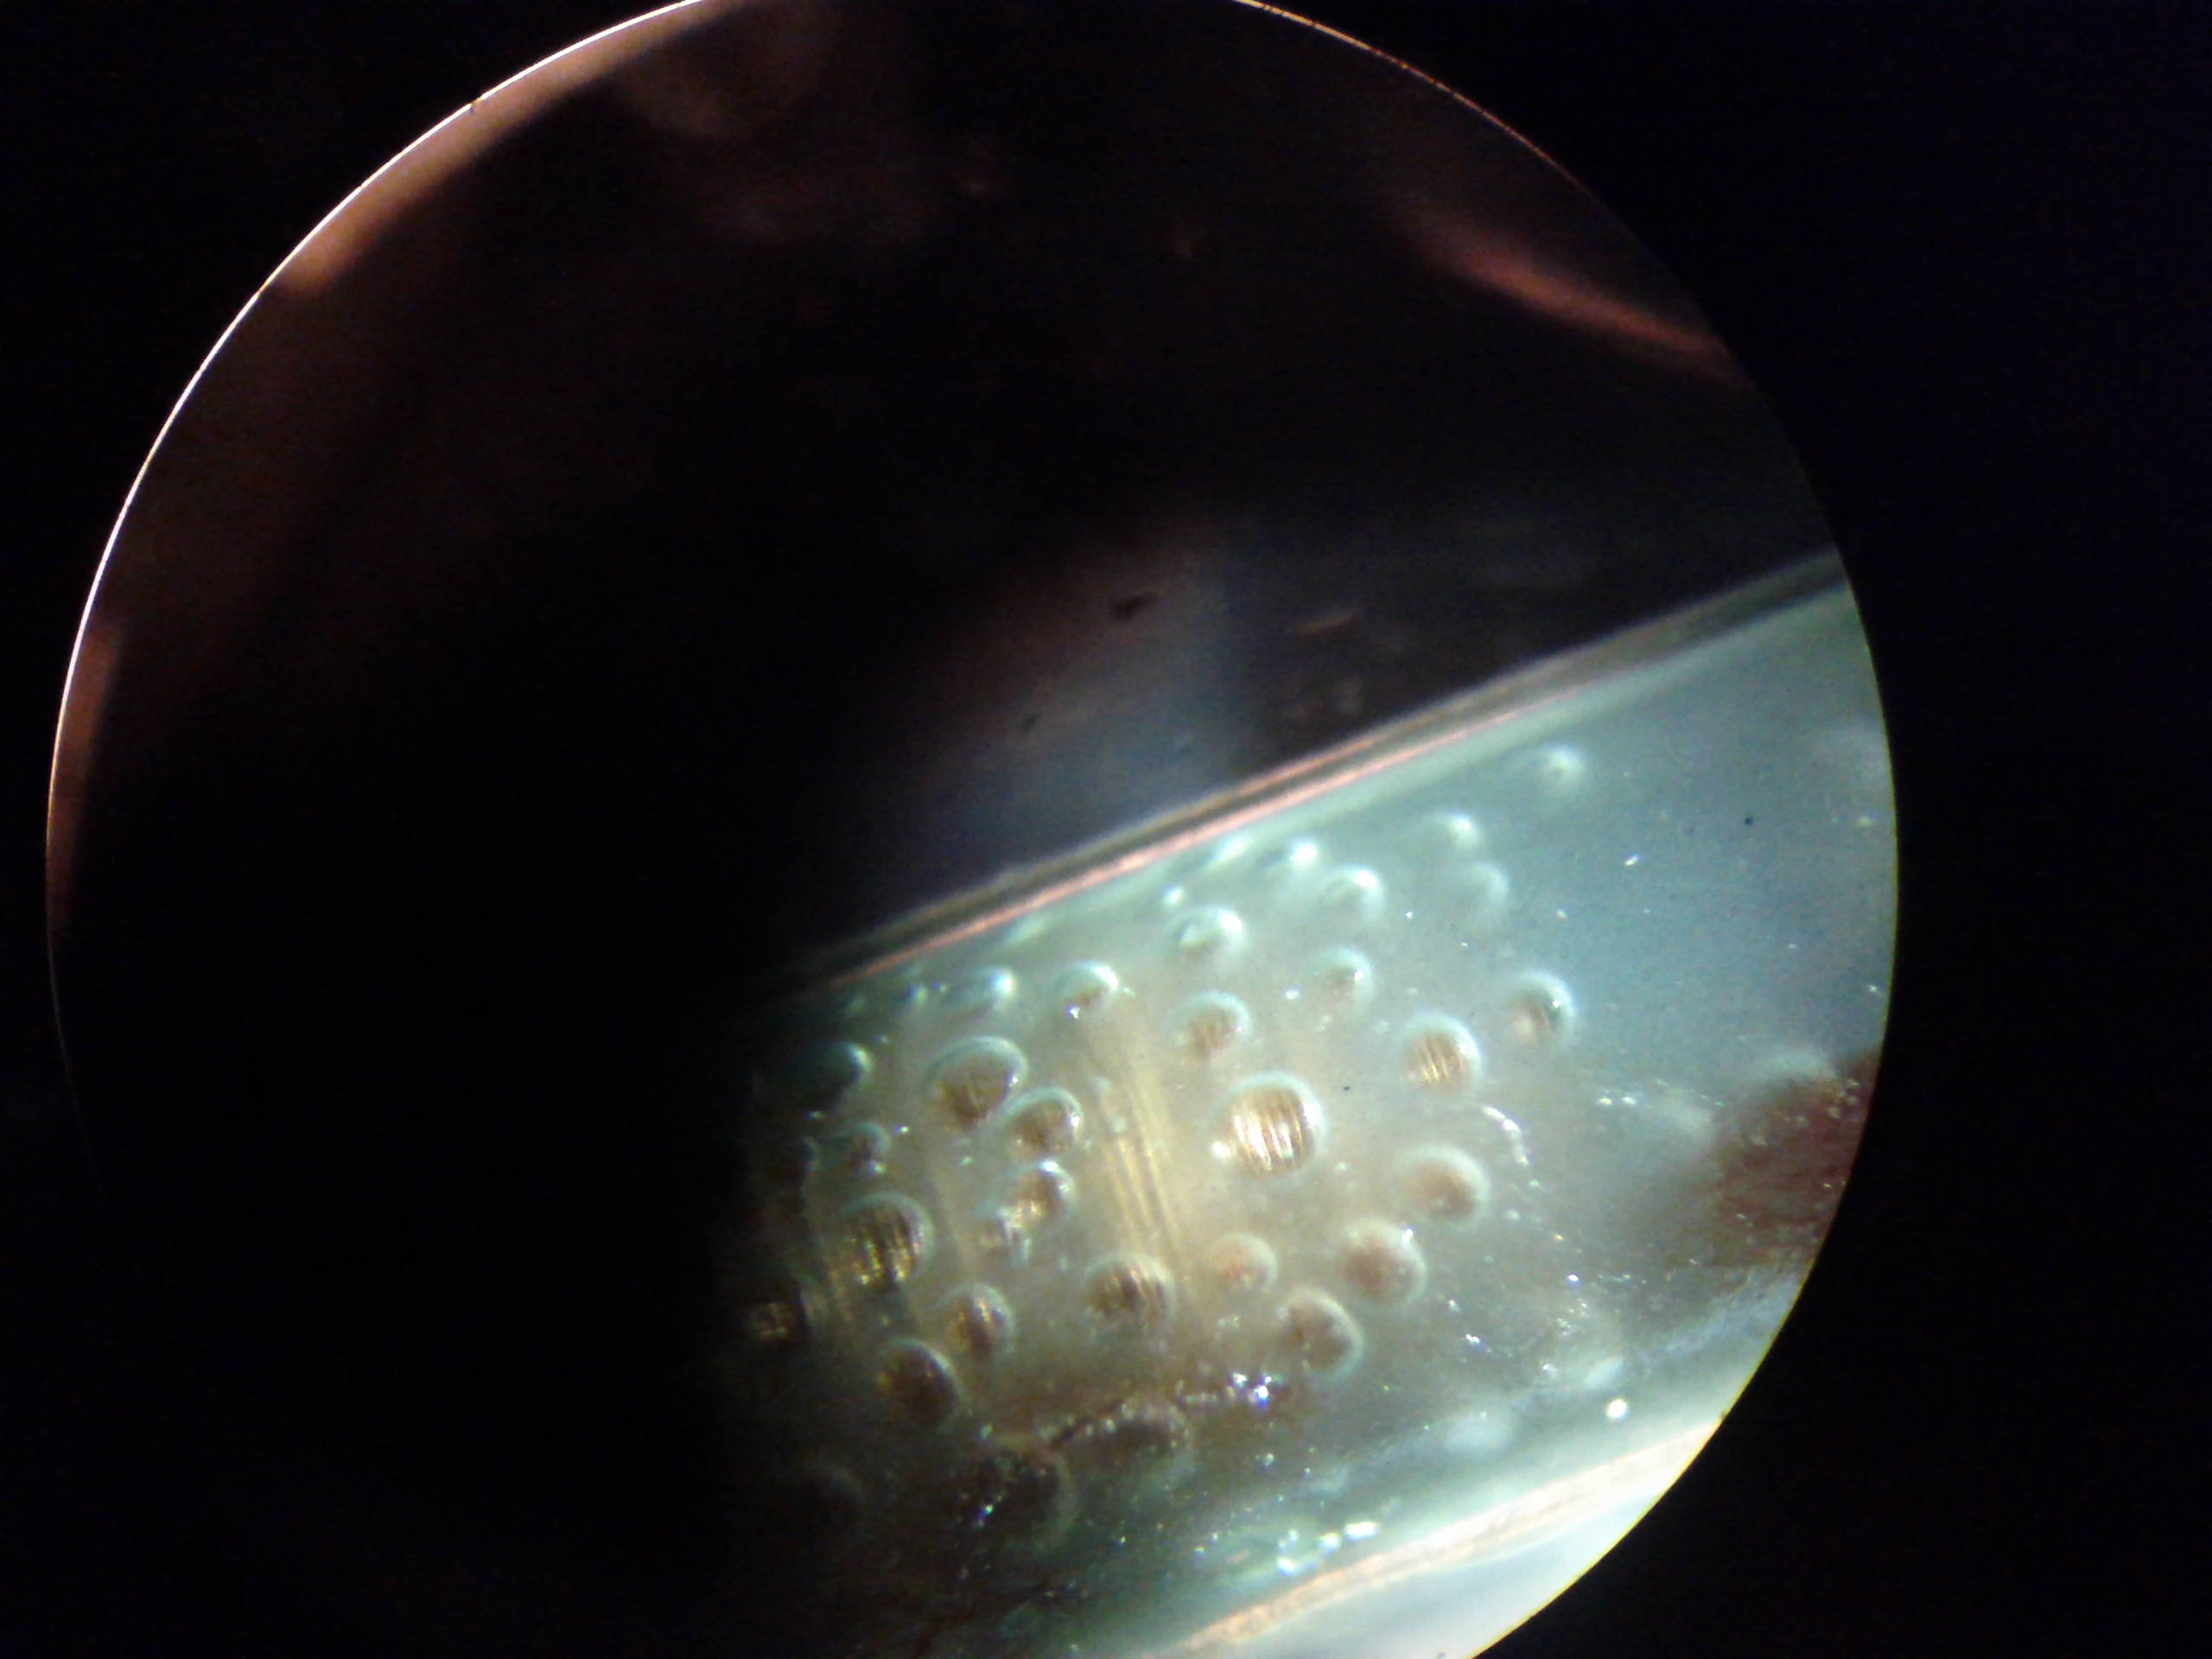
The implant had been wrapped in a very small but extremely strong cocoon of connective tissue, and trust me it was tough! Obviously the forceps cannot be used to actually grab the glass tag (it would shatter), so they were mostly used to spread tissue and gently scrape away connective tissue from the “top” of the glass tag that I was trying to push out of the incision site.
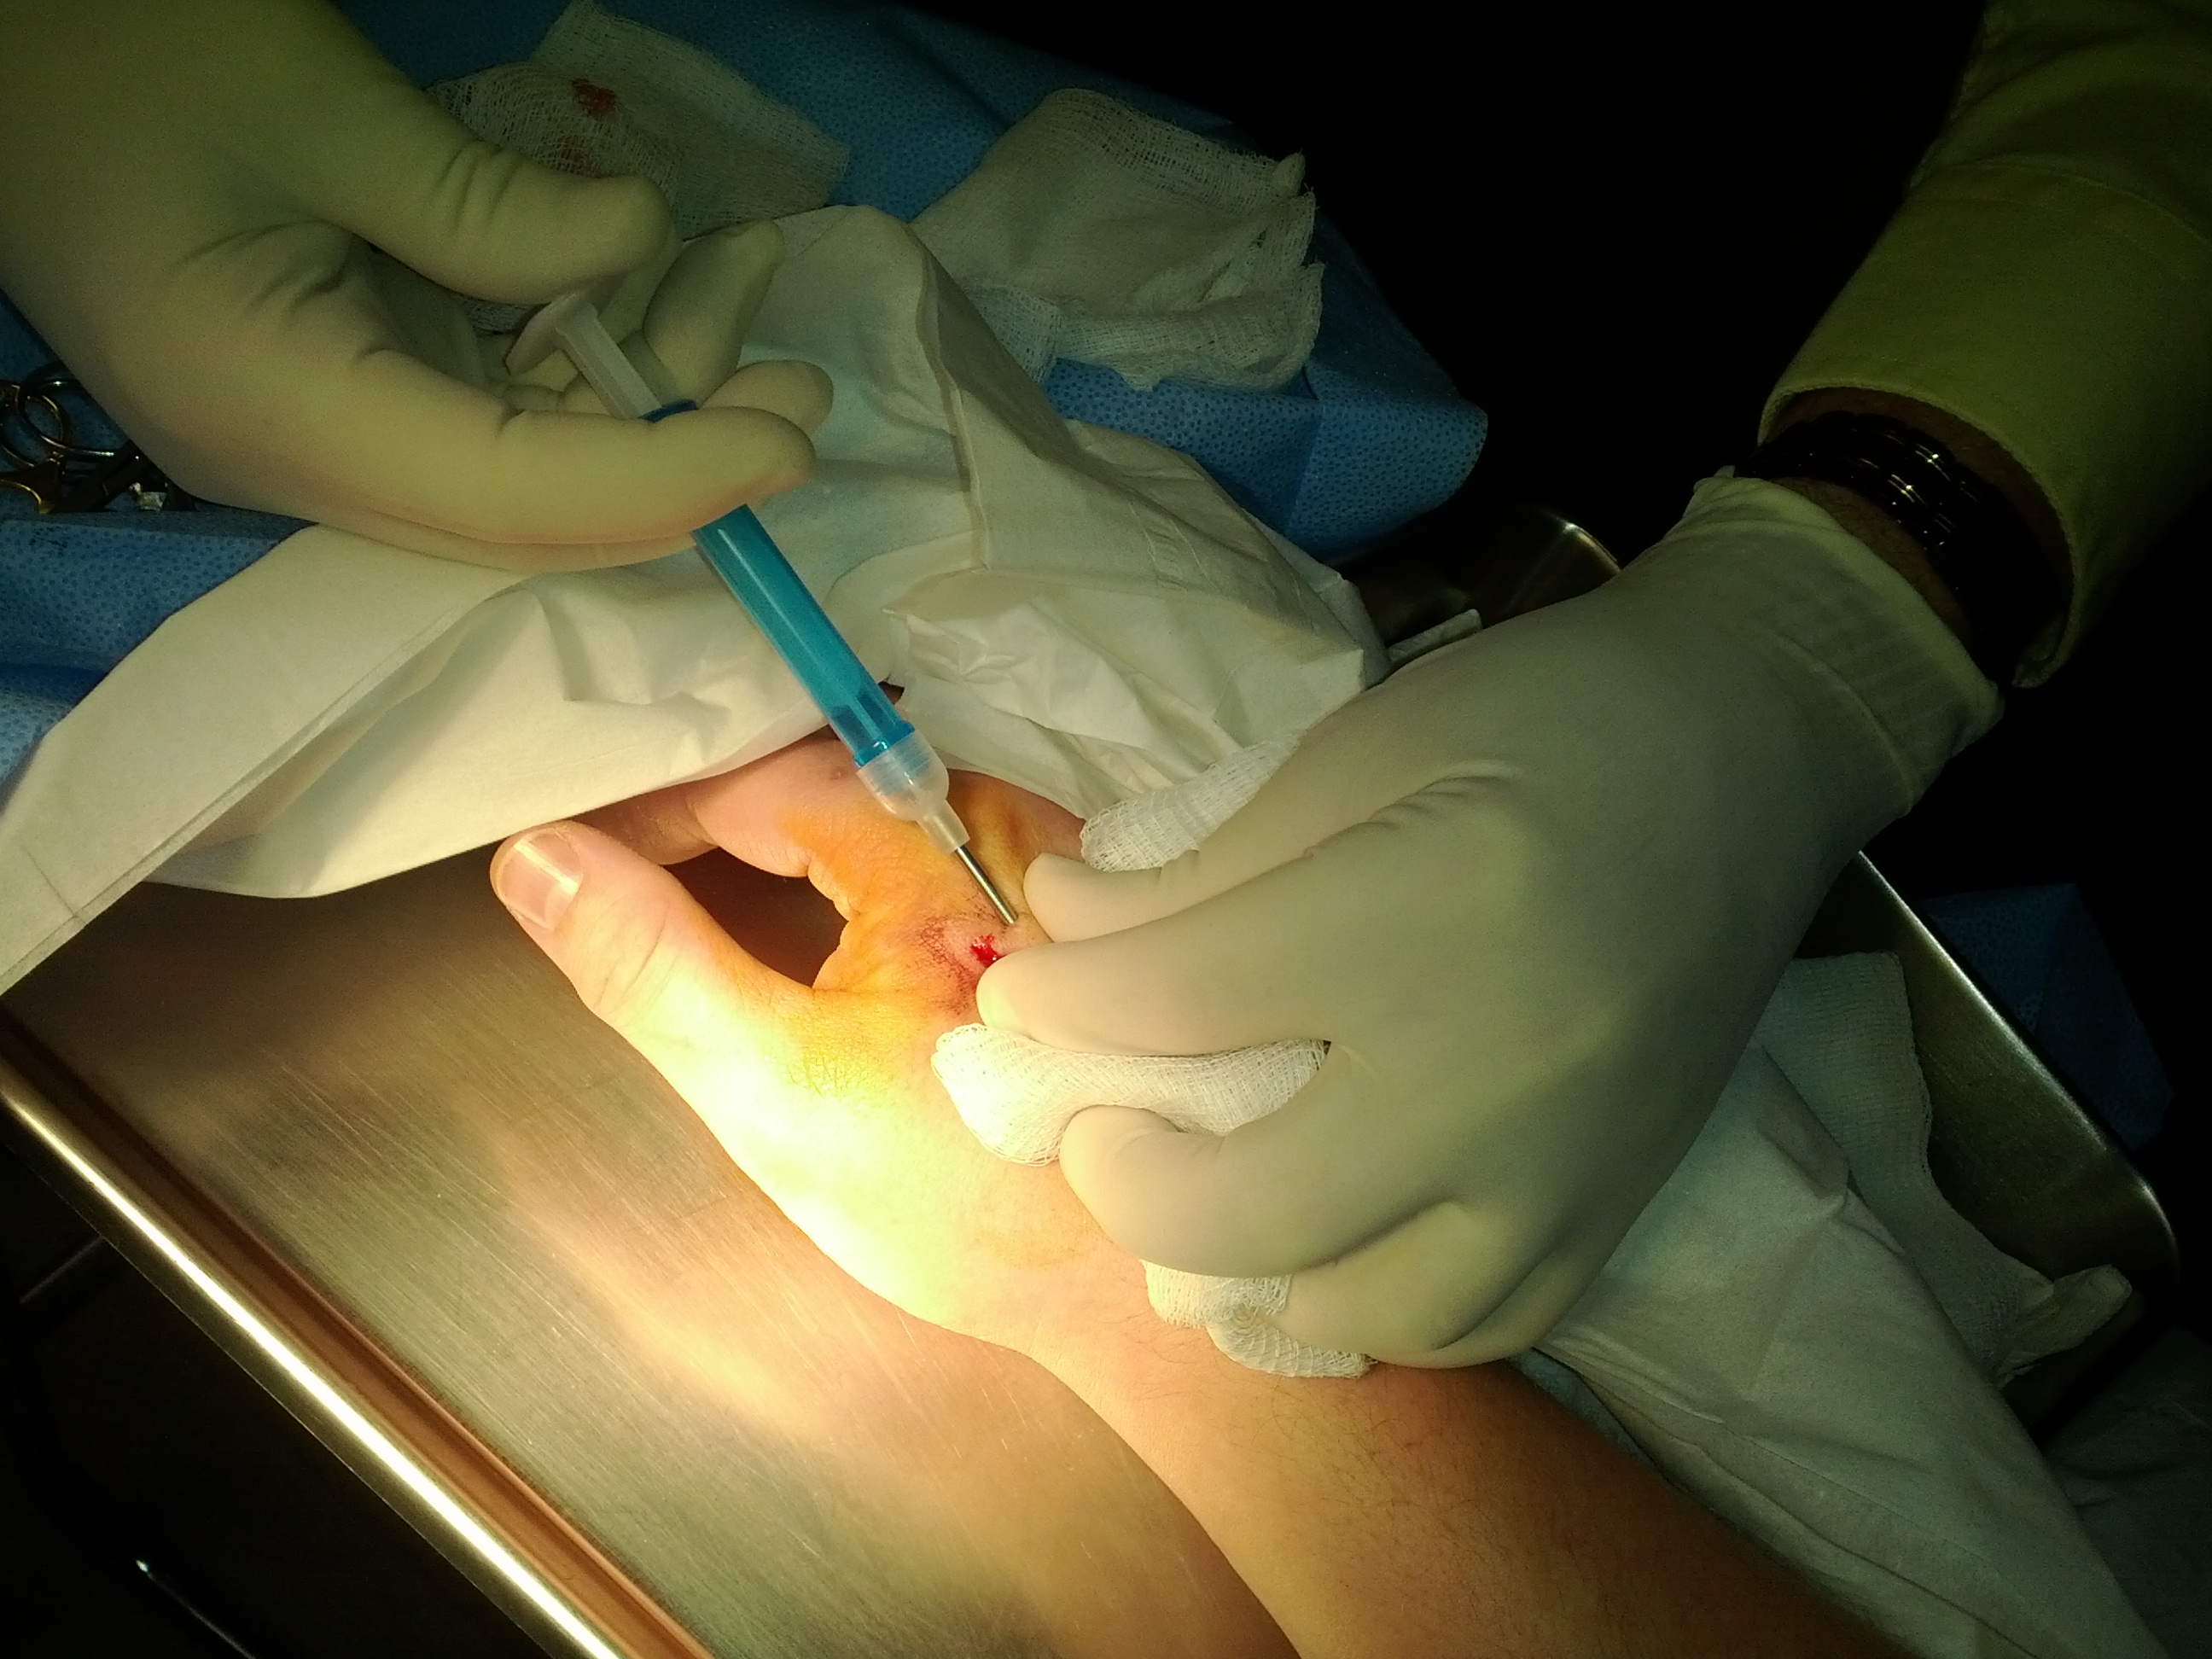
I would have liked to put the new replacement tag into the old tag’s “pocket”, but the doctor advised against it, so his used an injector to place the new one adjacent to the old implant site.
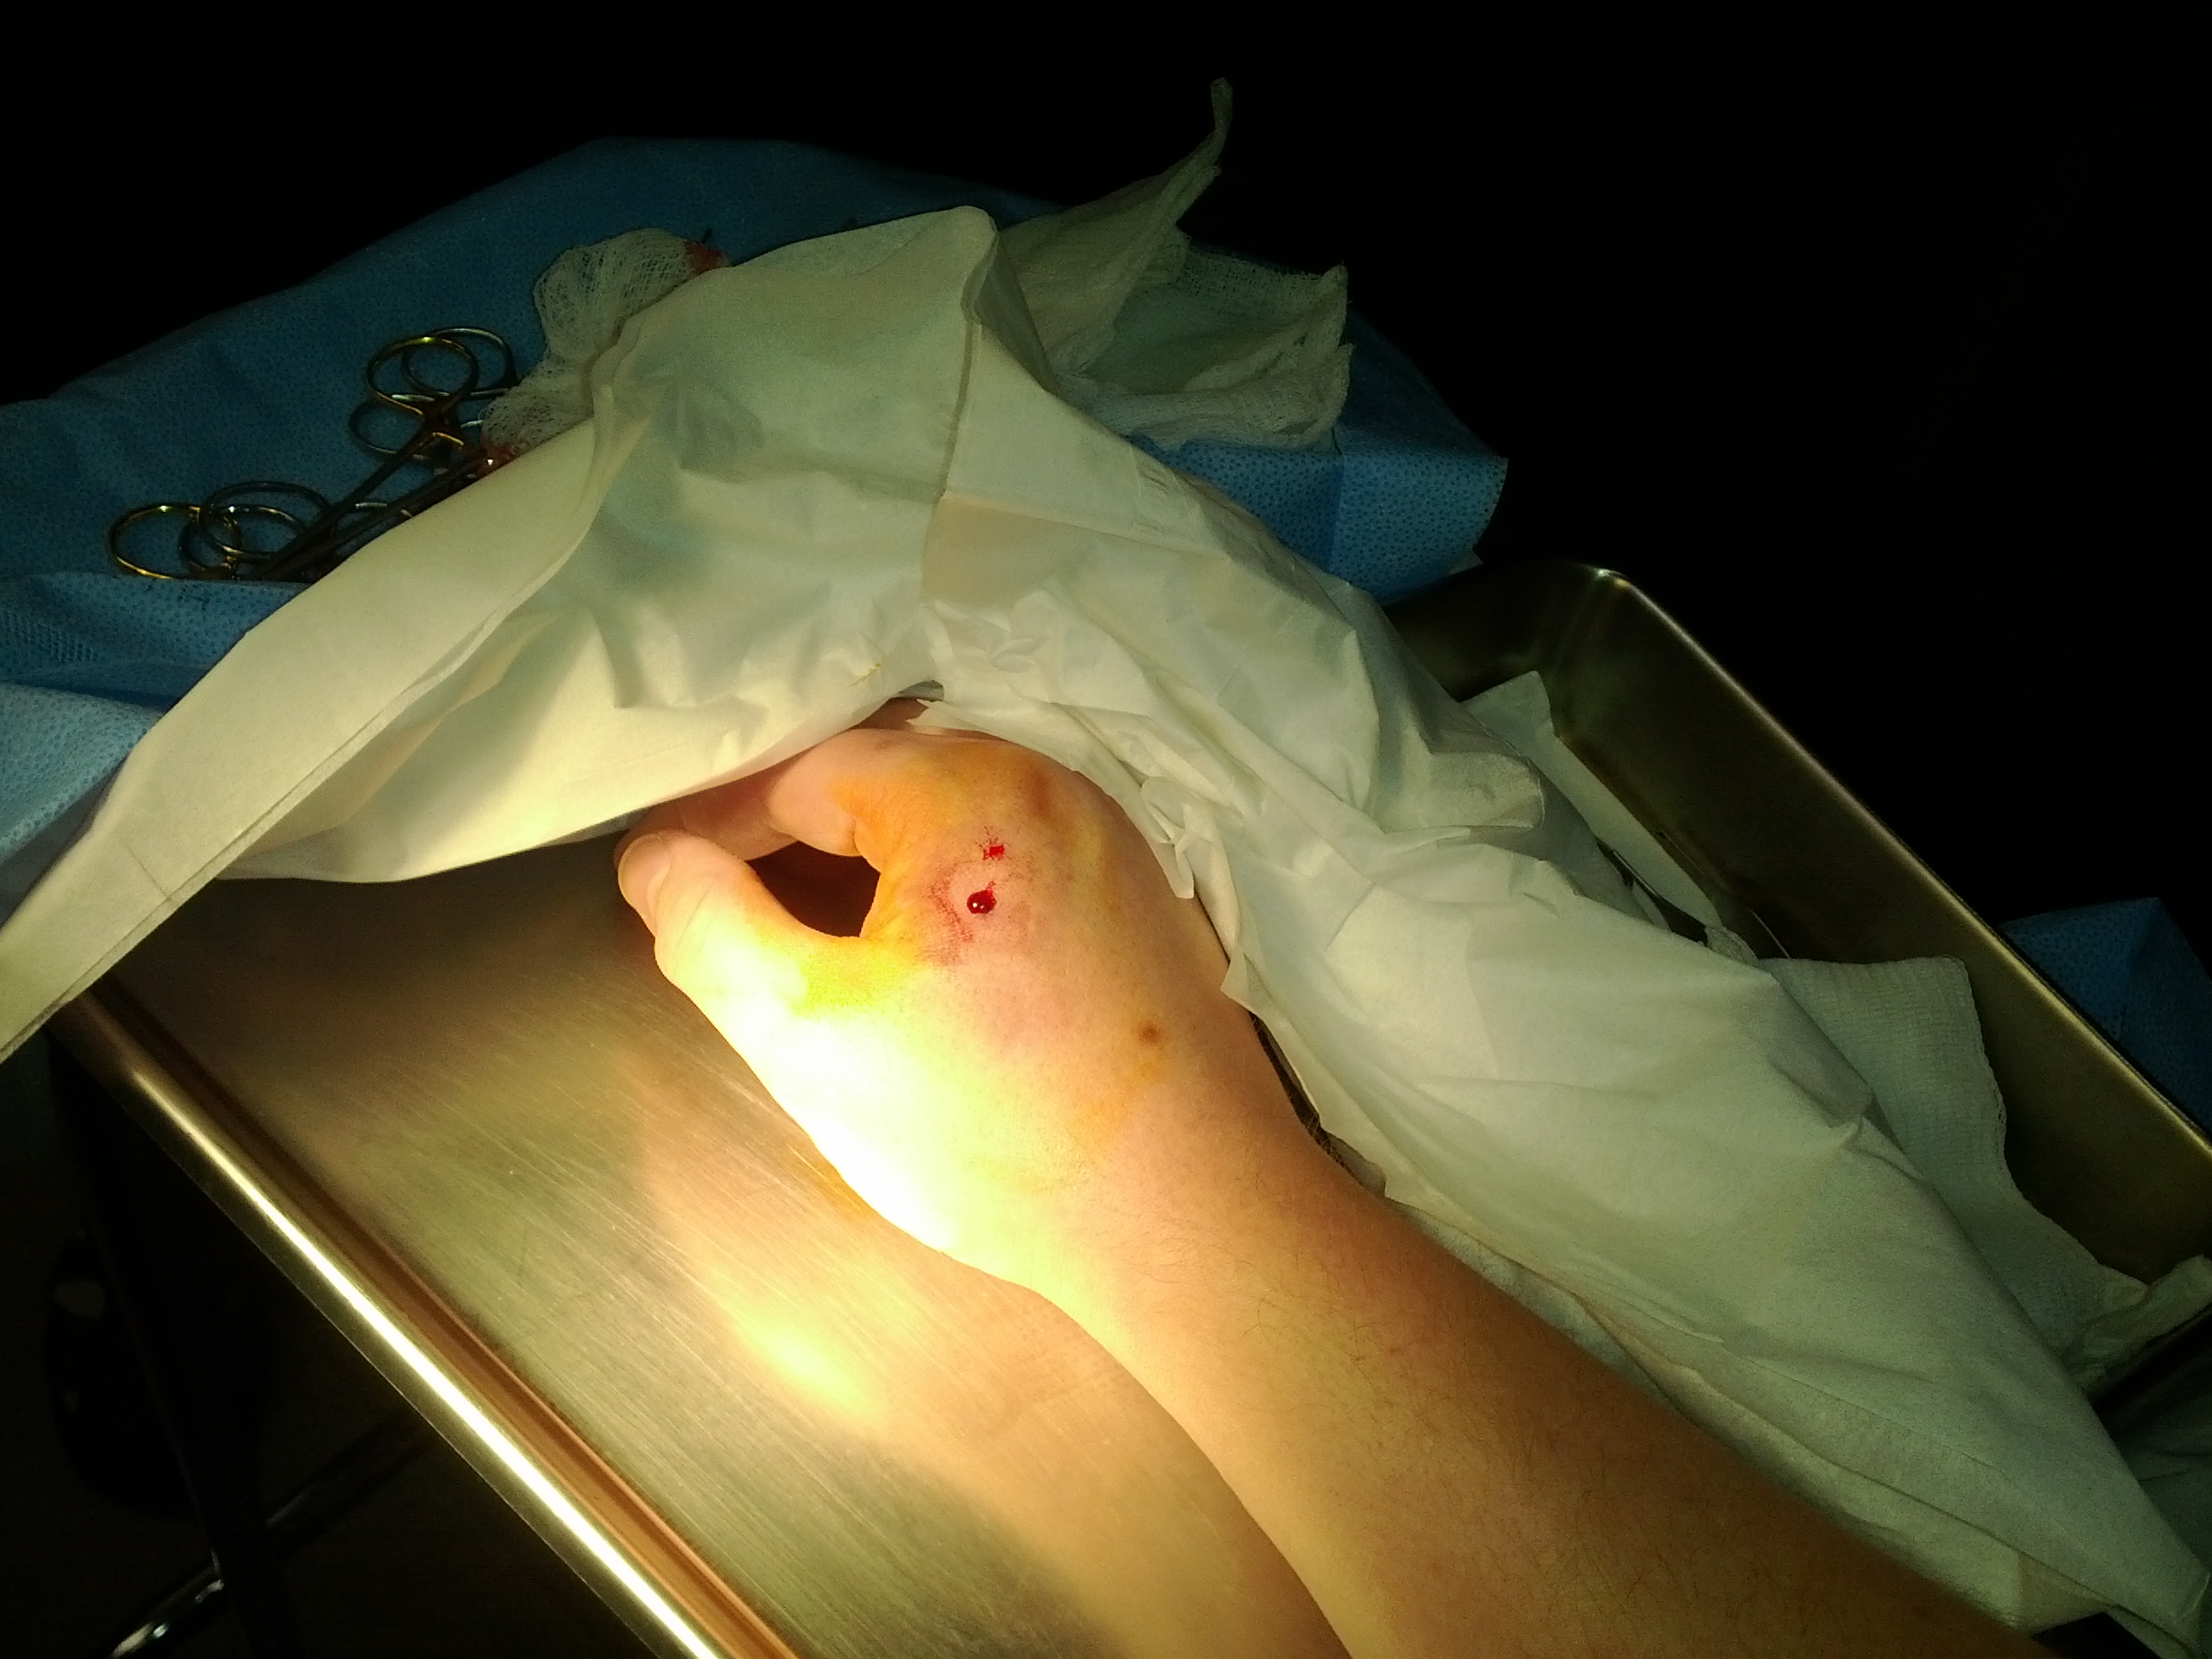
With all the digging around, I thought my hand would have been really sore, but I had no problems at all. Within a day or two, the incision sealed itself tight, and from then on the normal healing process was no different from if I had gotten a scrape there. I can say though that I could feel “lumpy” scar tissue in the old implant site area for weeks, but now it’s pretty much resolved itself.
Here’s a new flickr photo set of the removal and replacement: http://www.flickr.com/photos/28129213@N00/sets/72157629557979650/
If I had to do it again, I would have had the doc provide me with a “health grade” surgery pen and I would have marked exactly where the implant was. I would have also pushed the implant up and marked where the “top” of it pokes up under the skin when I push it from underneath. I also would have insisted from the get-go that I be gloved up on my other hand so I could immediately assist. Finally, I would have had the incision made exactly where the implant “head” pops up under the skin. My doc cut about a millimeter away from that spot and I think it caused some of the frustration.
-
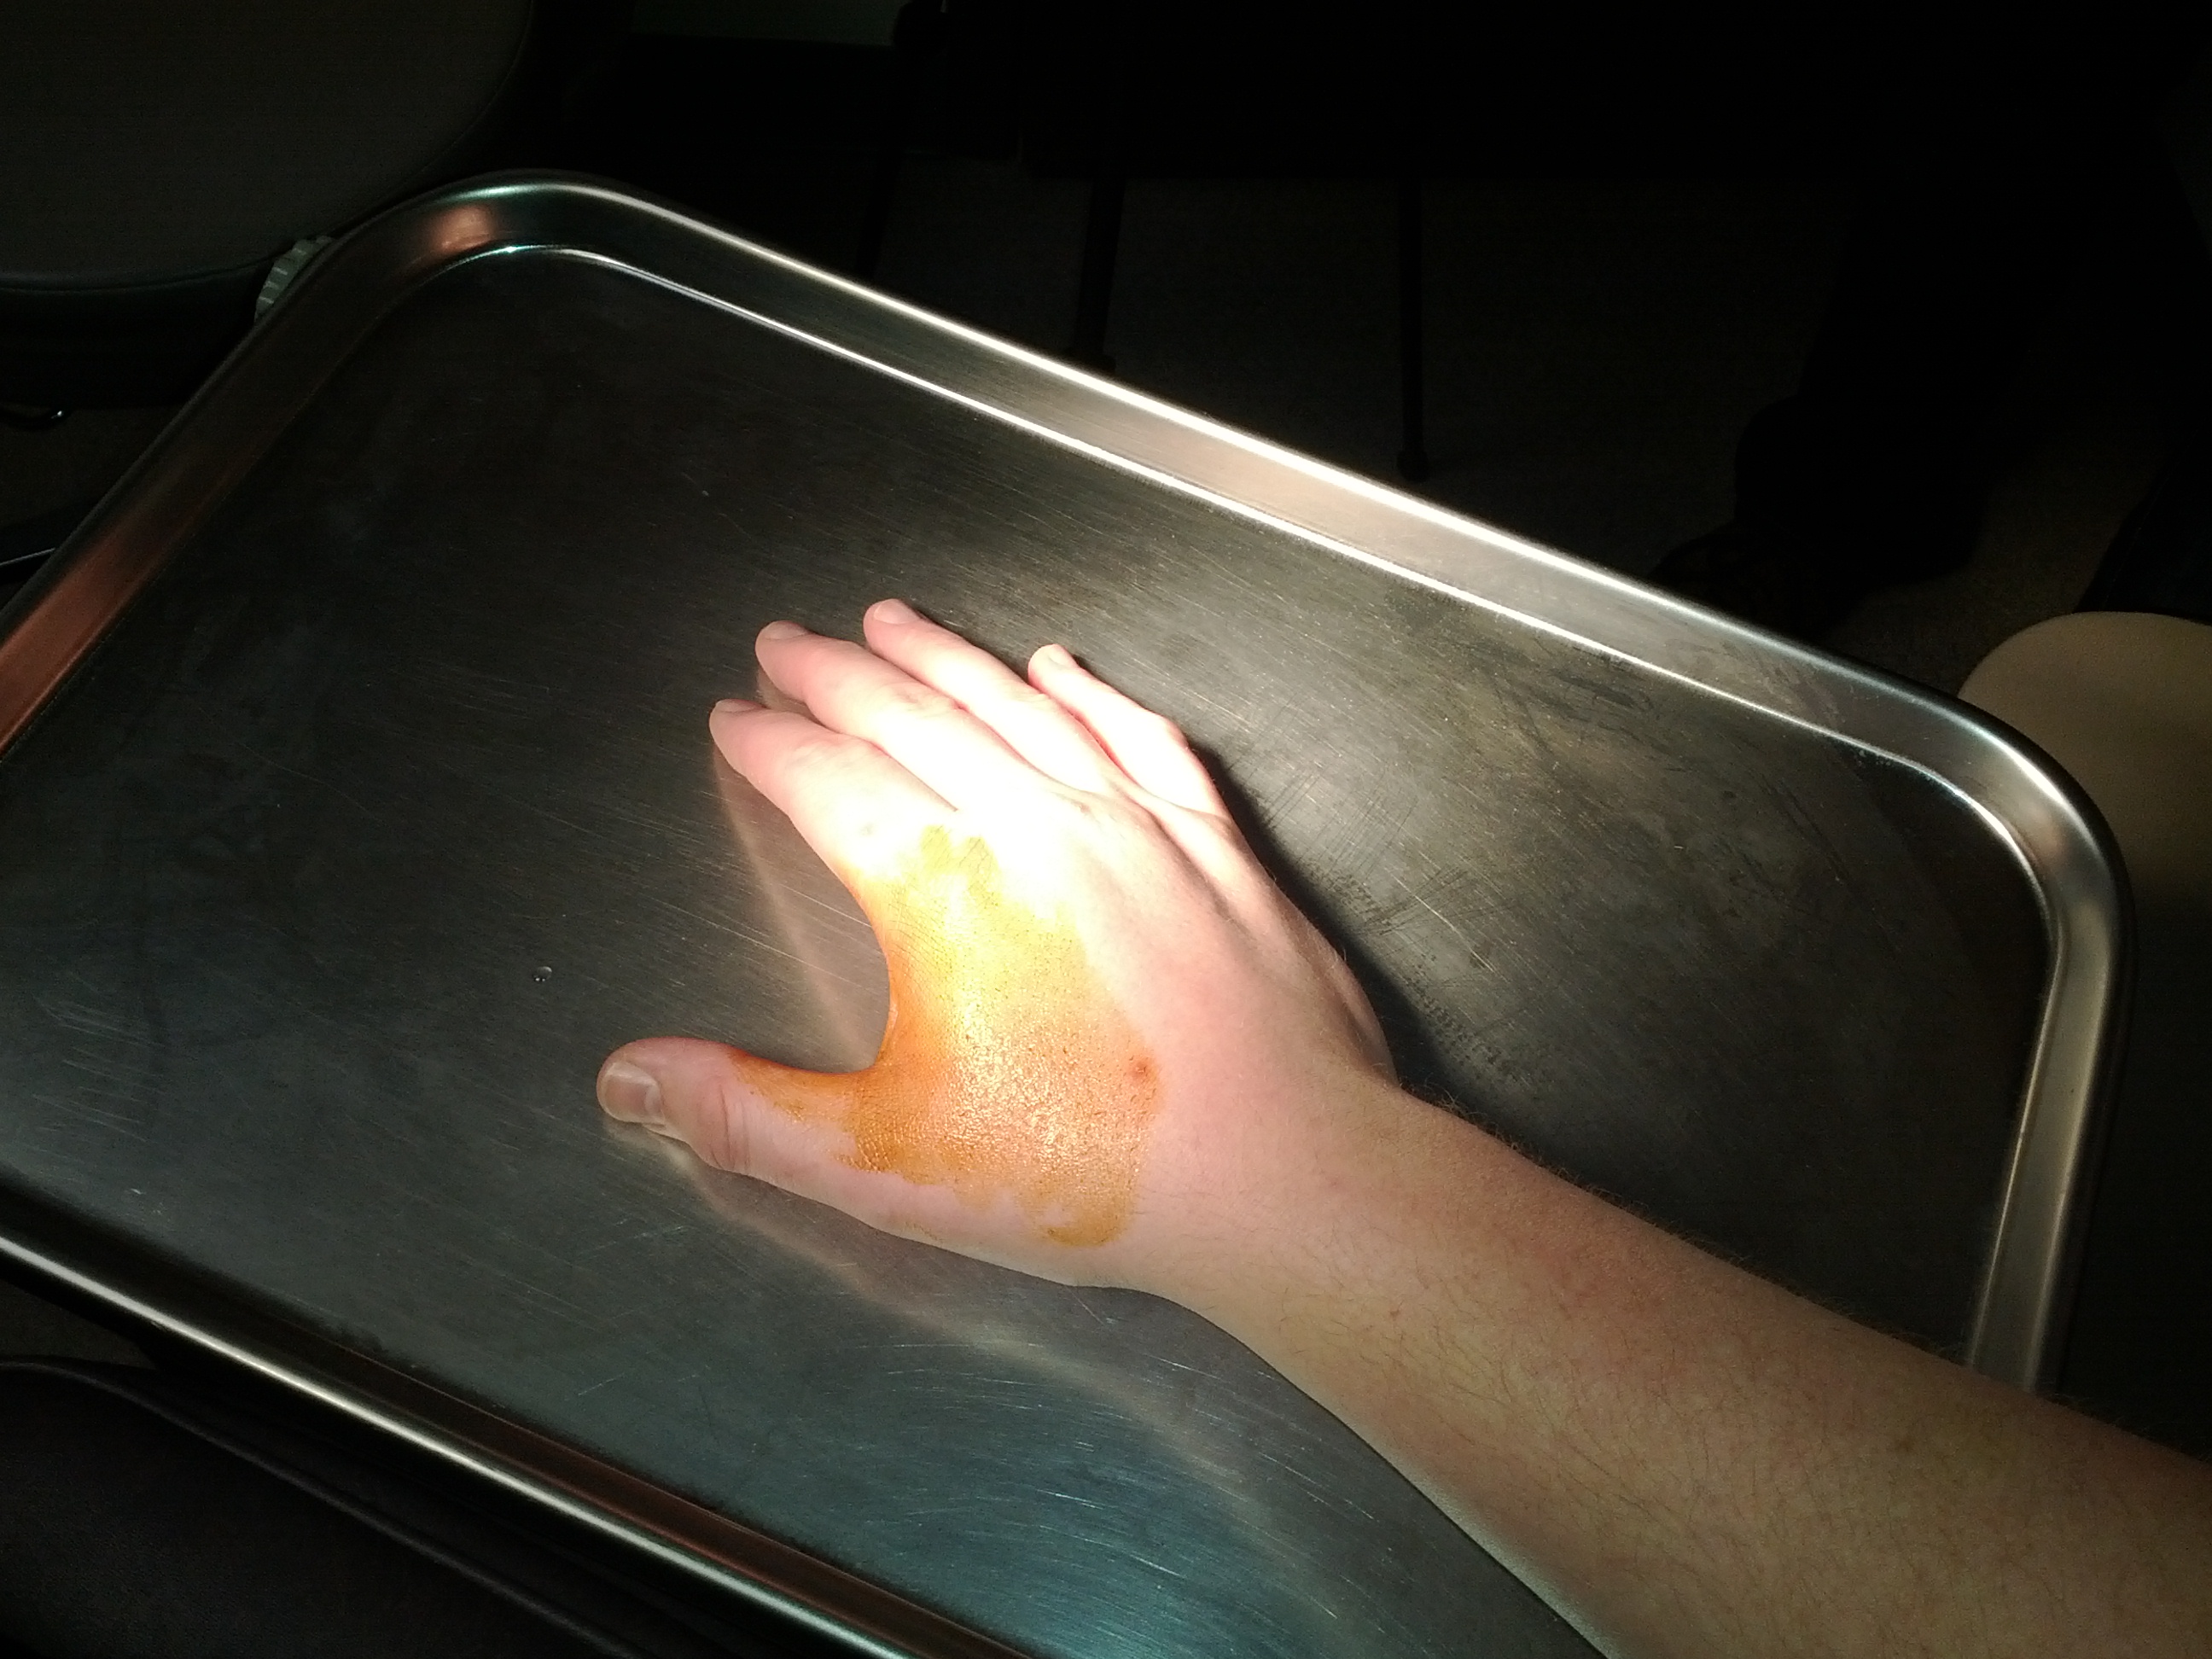
- Prep the hand
-
- The knife
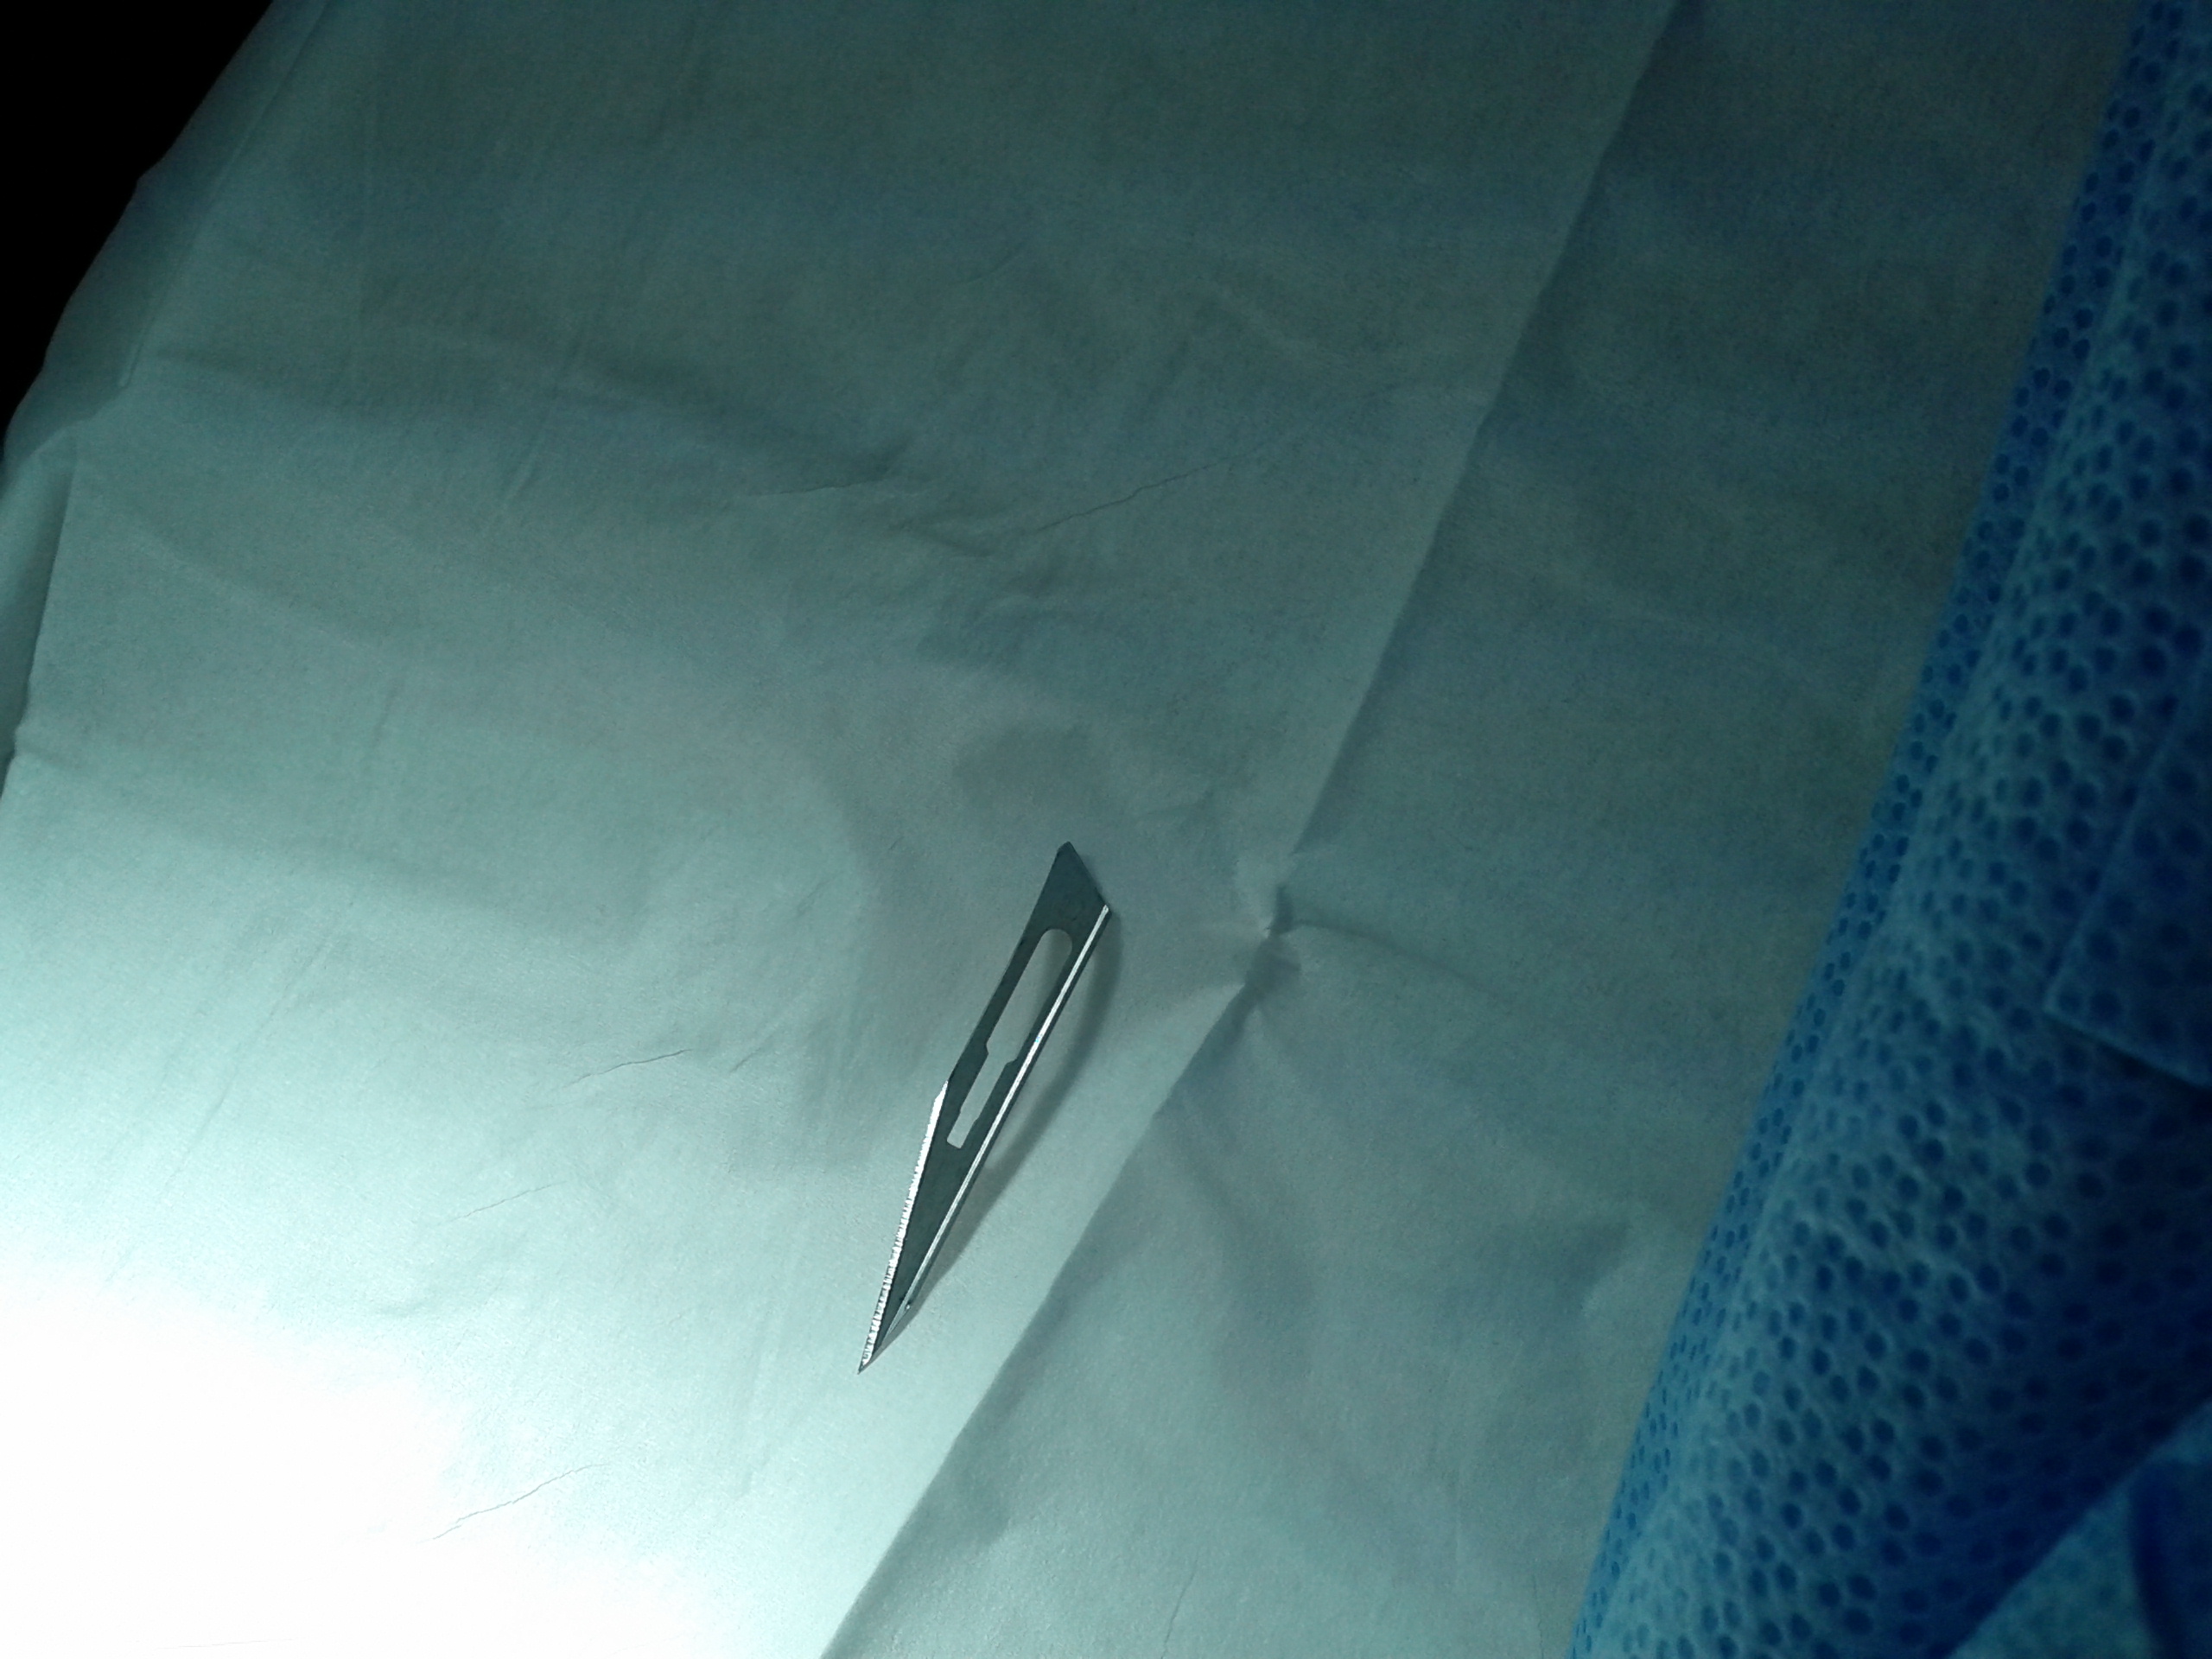
-
- The field
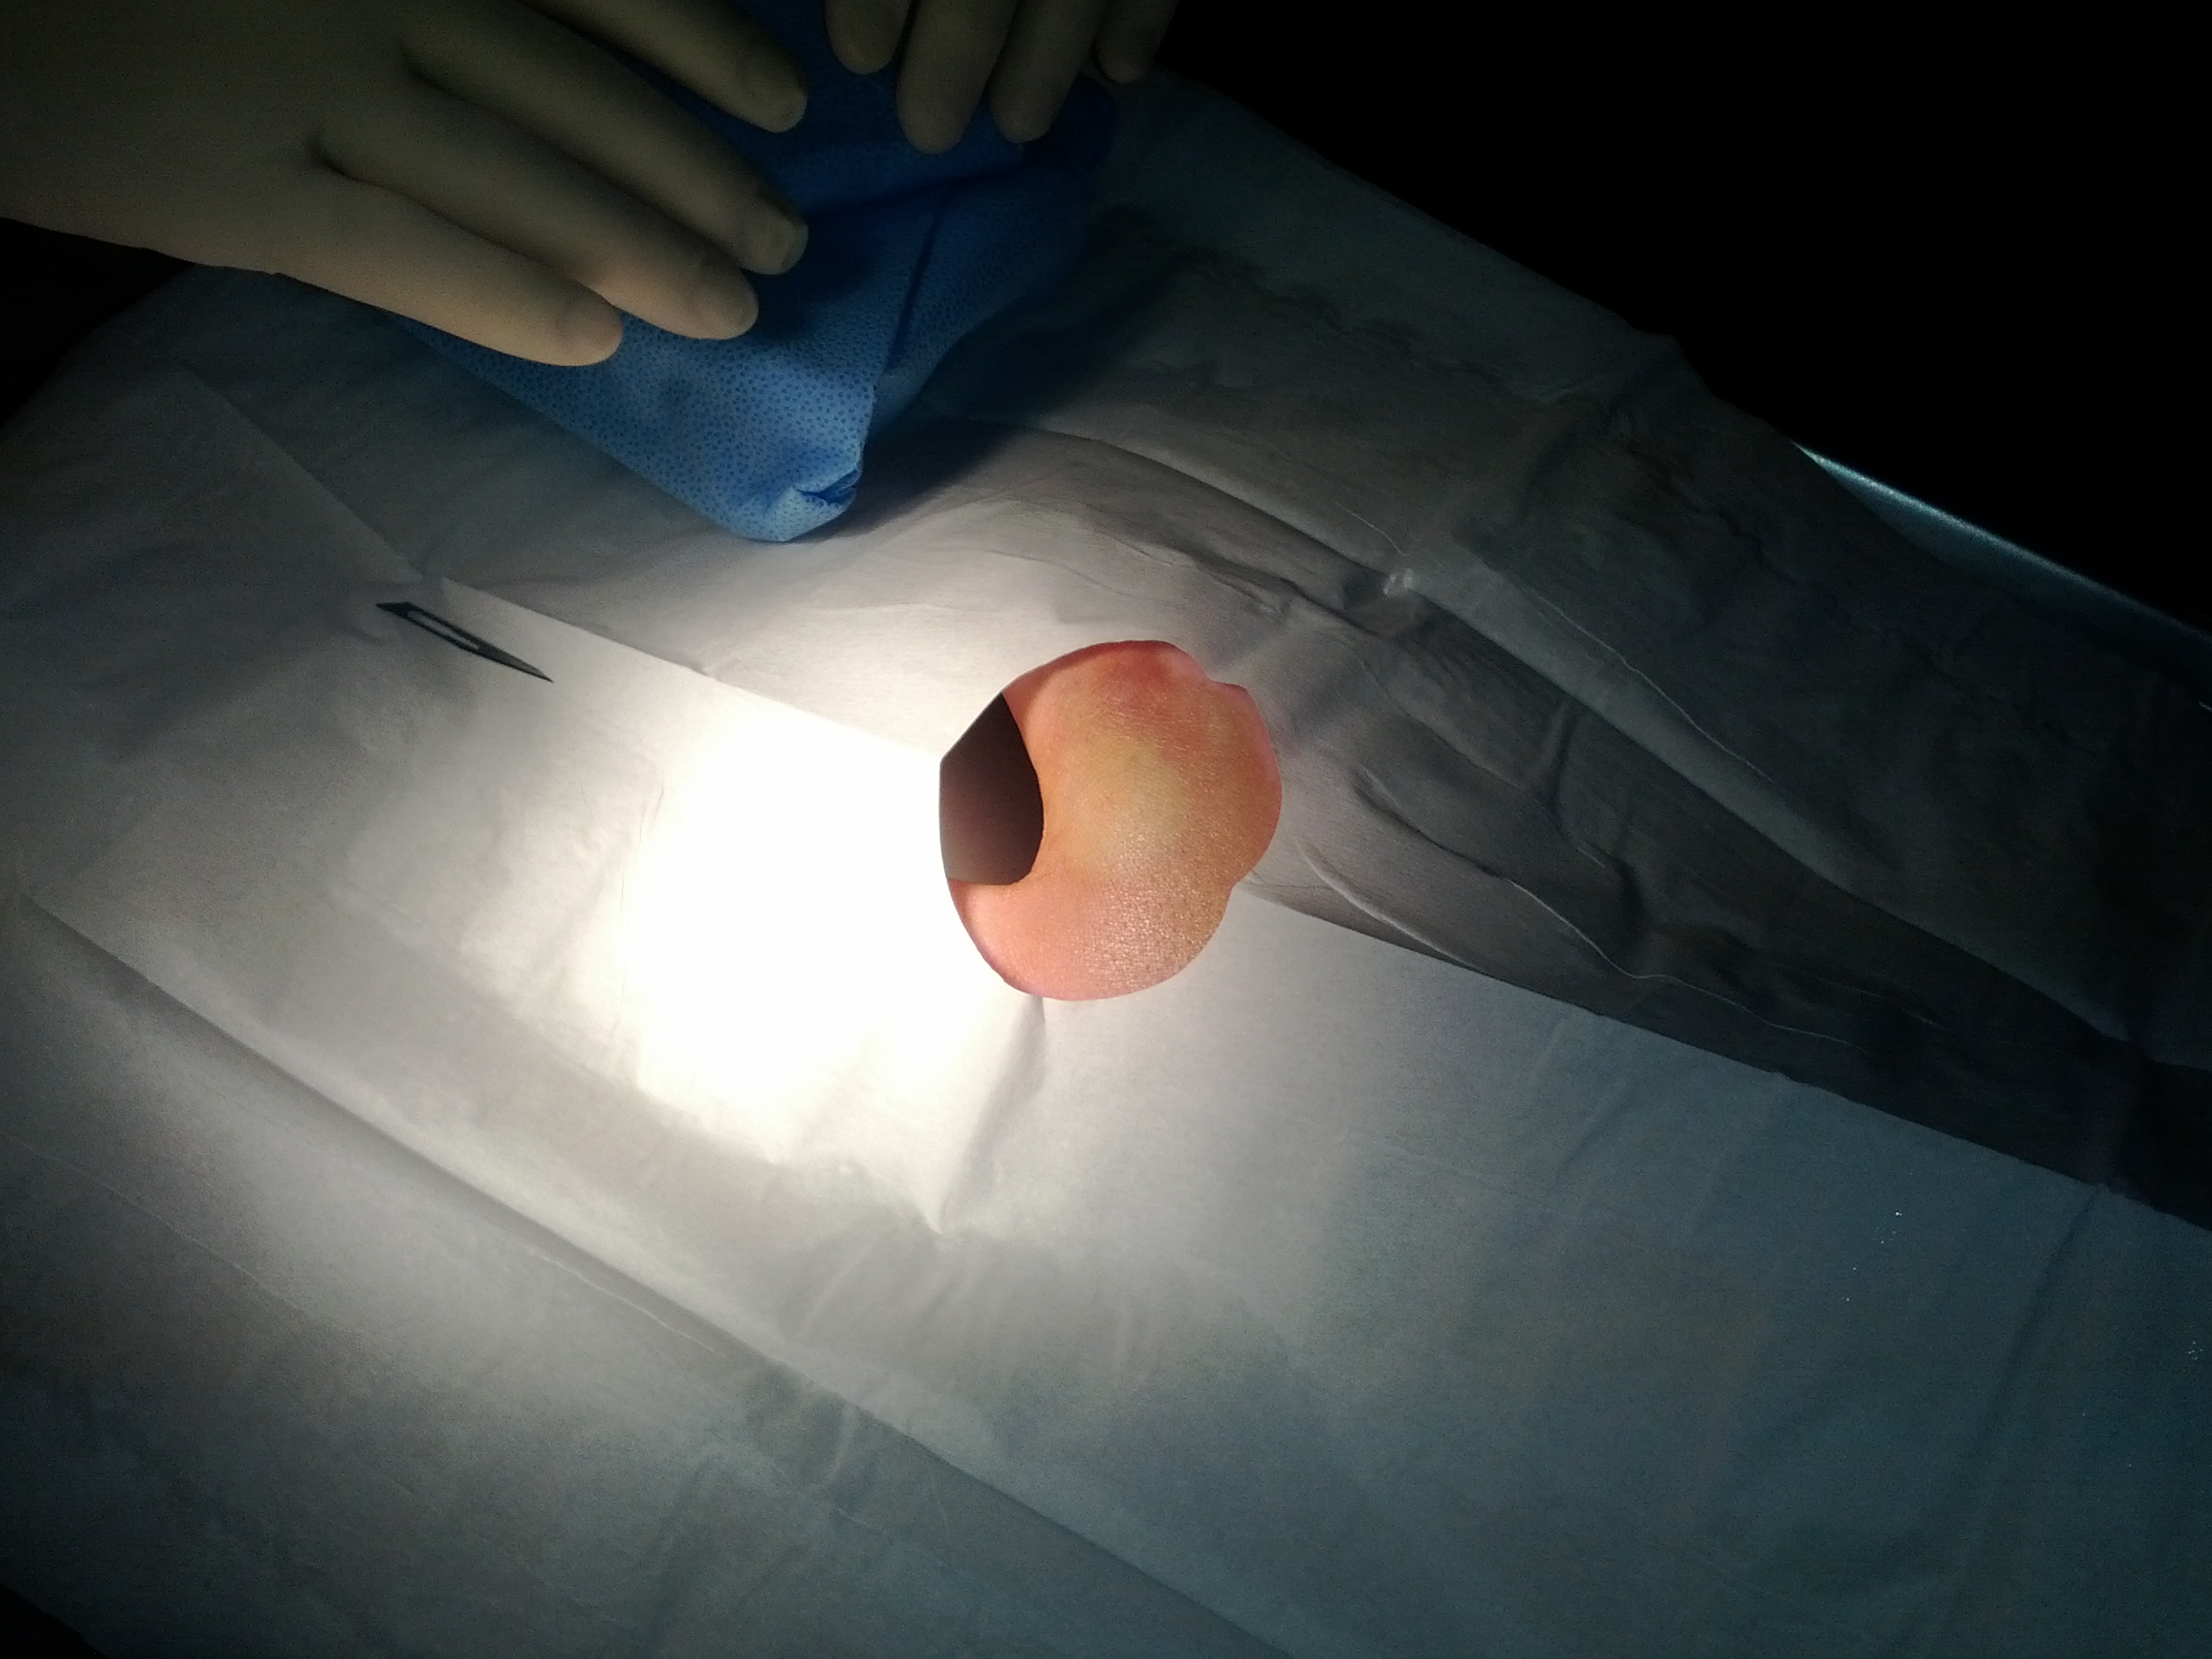
-
- Working the tag
-
- Working the tag

-
- Spreading flesh

-
- The tag coming out
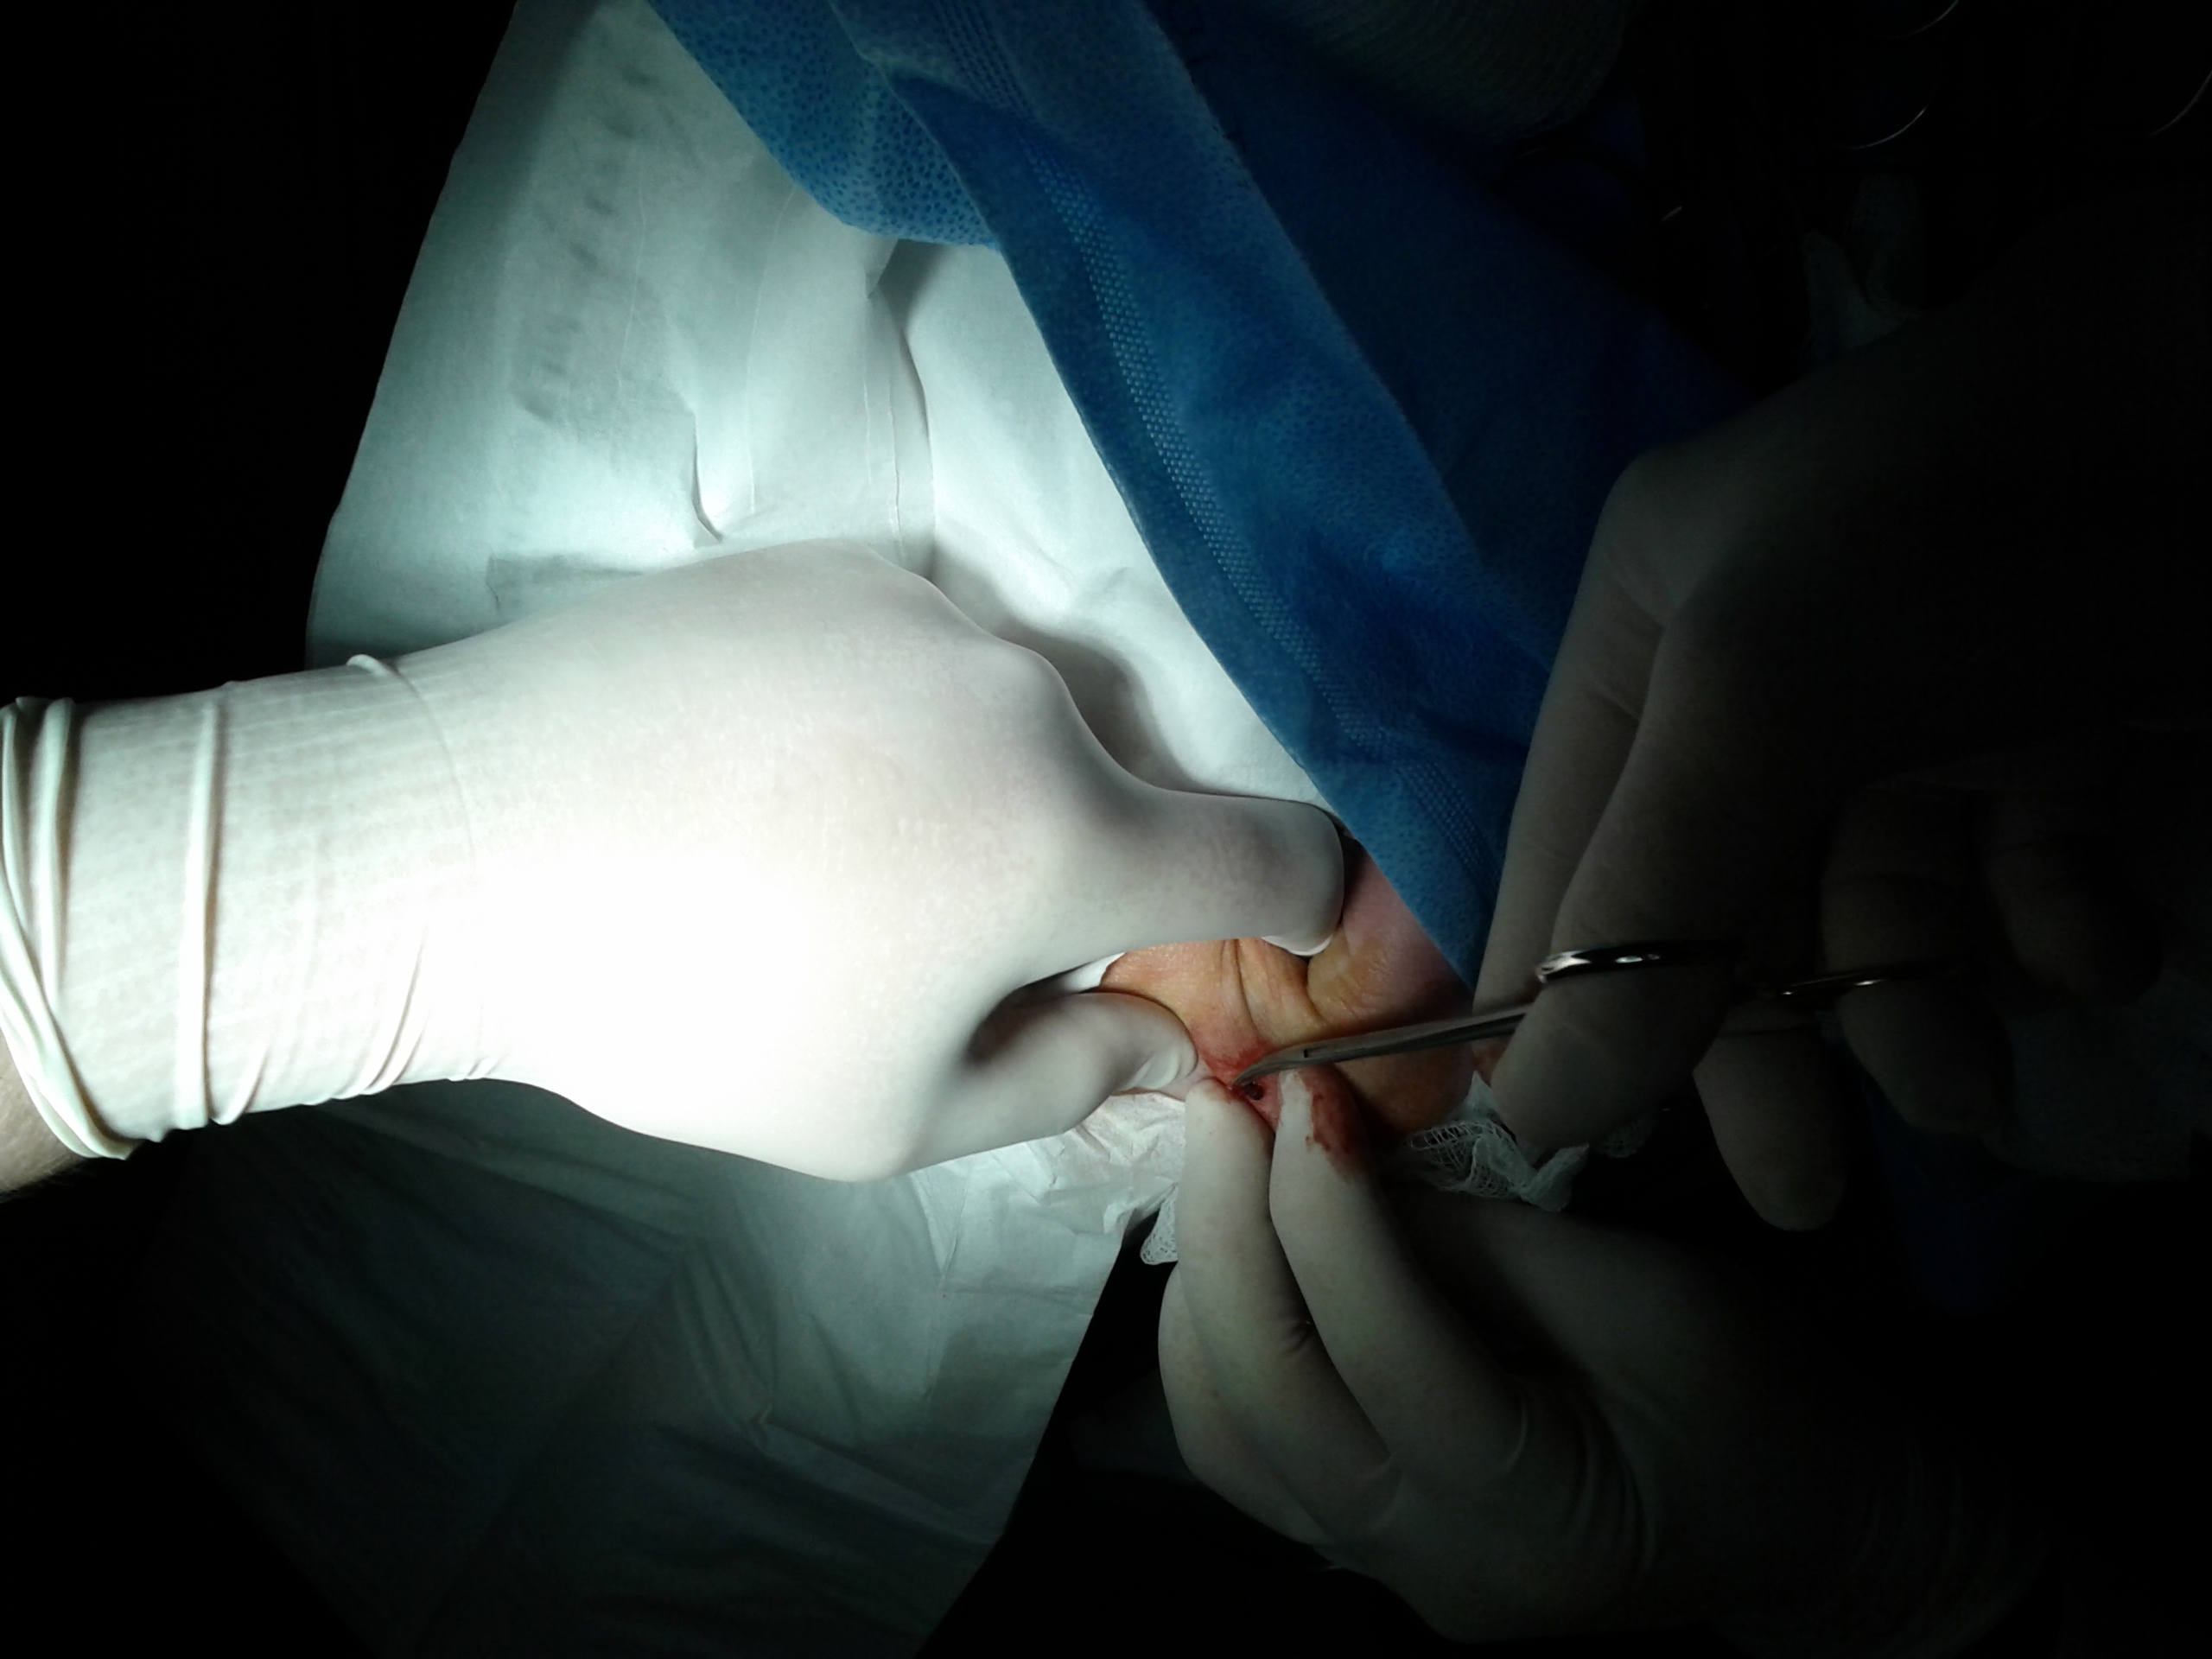
-
- Placing new tag
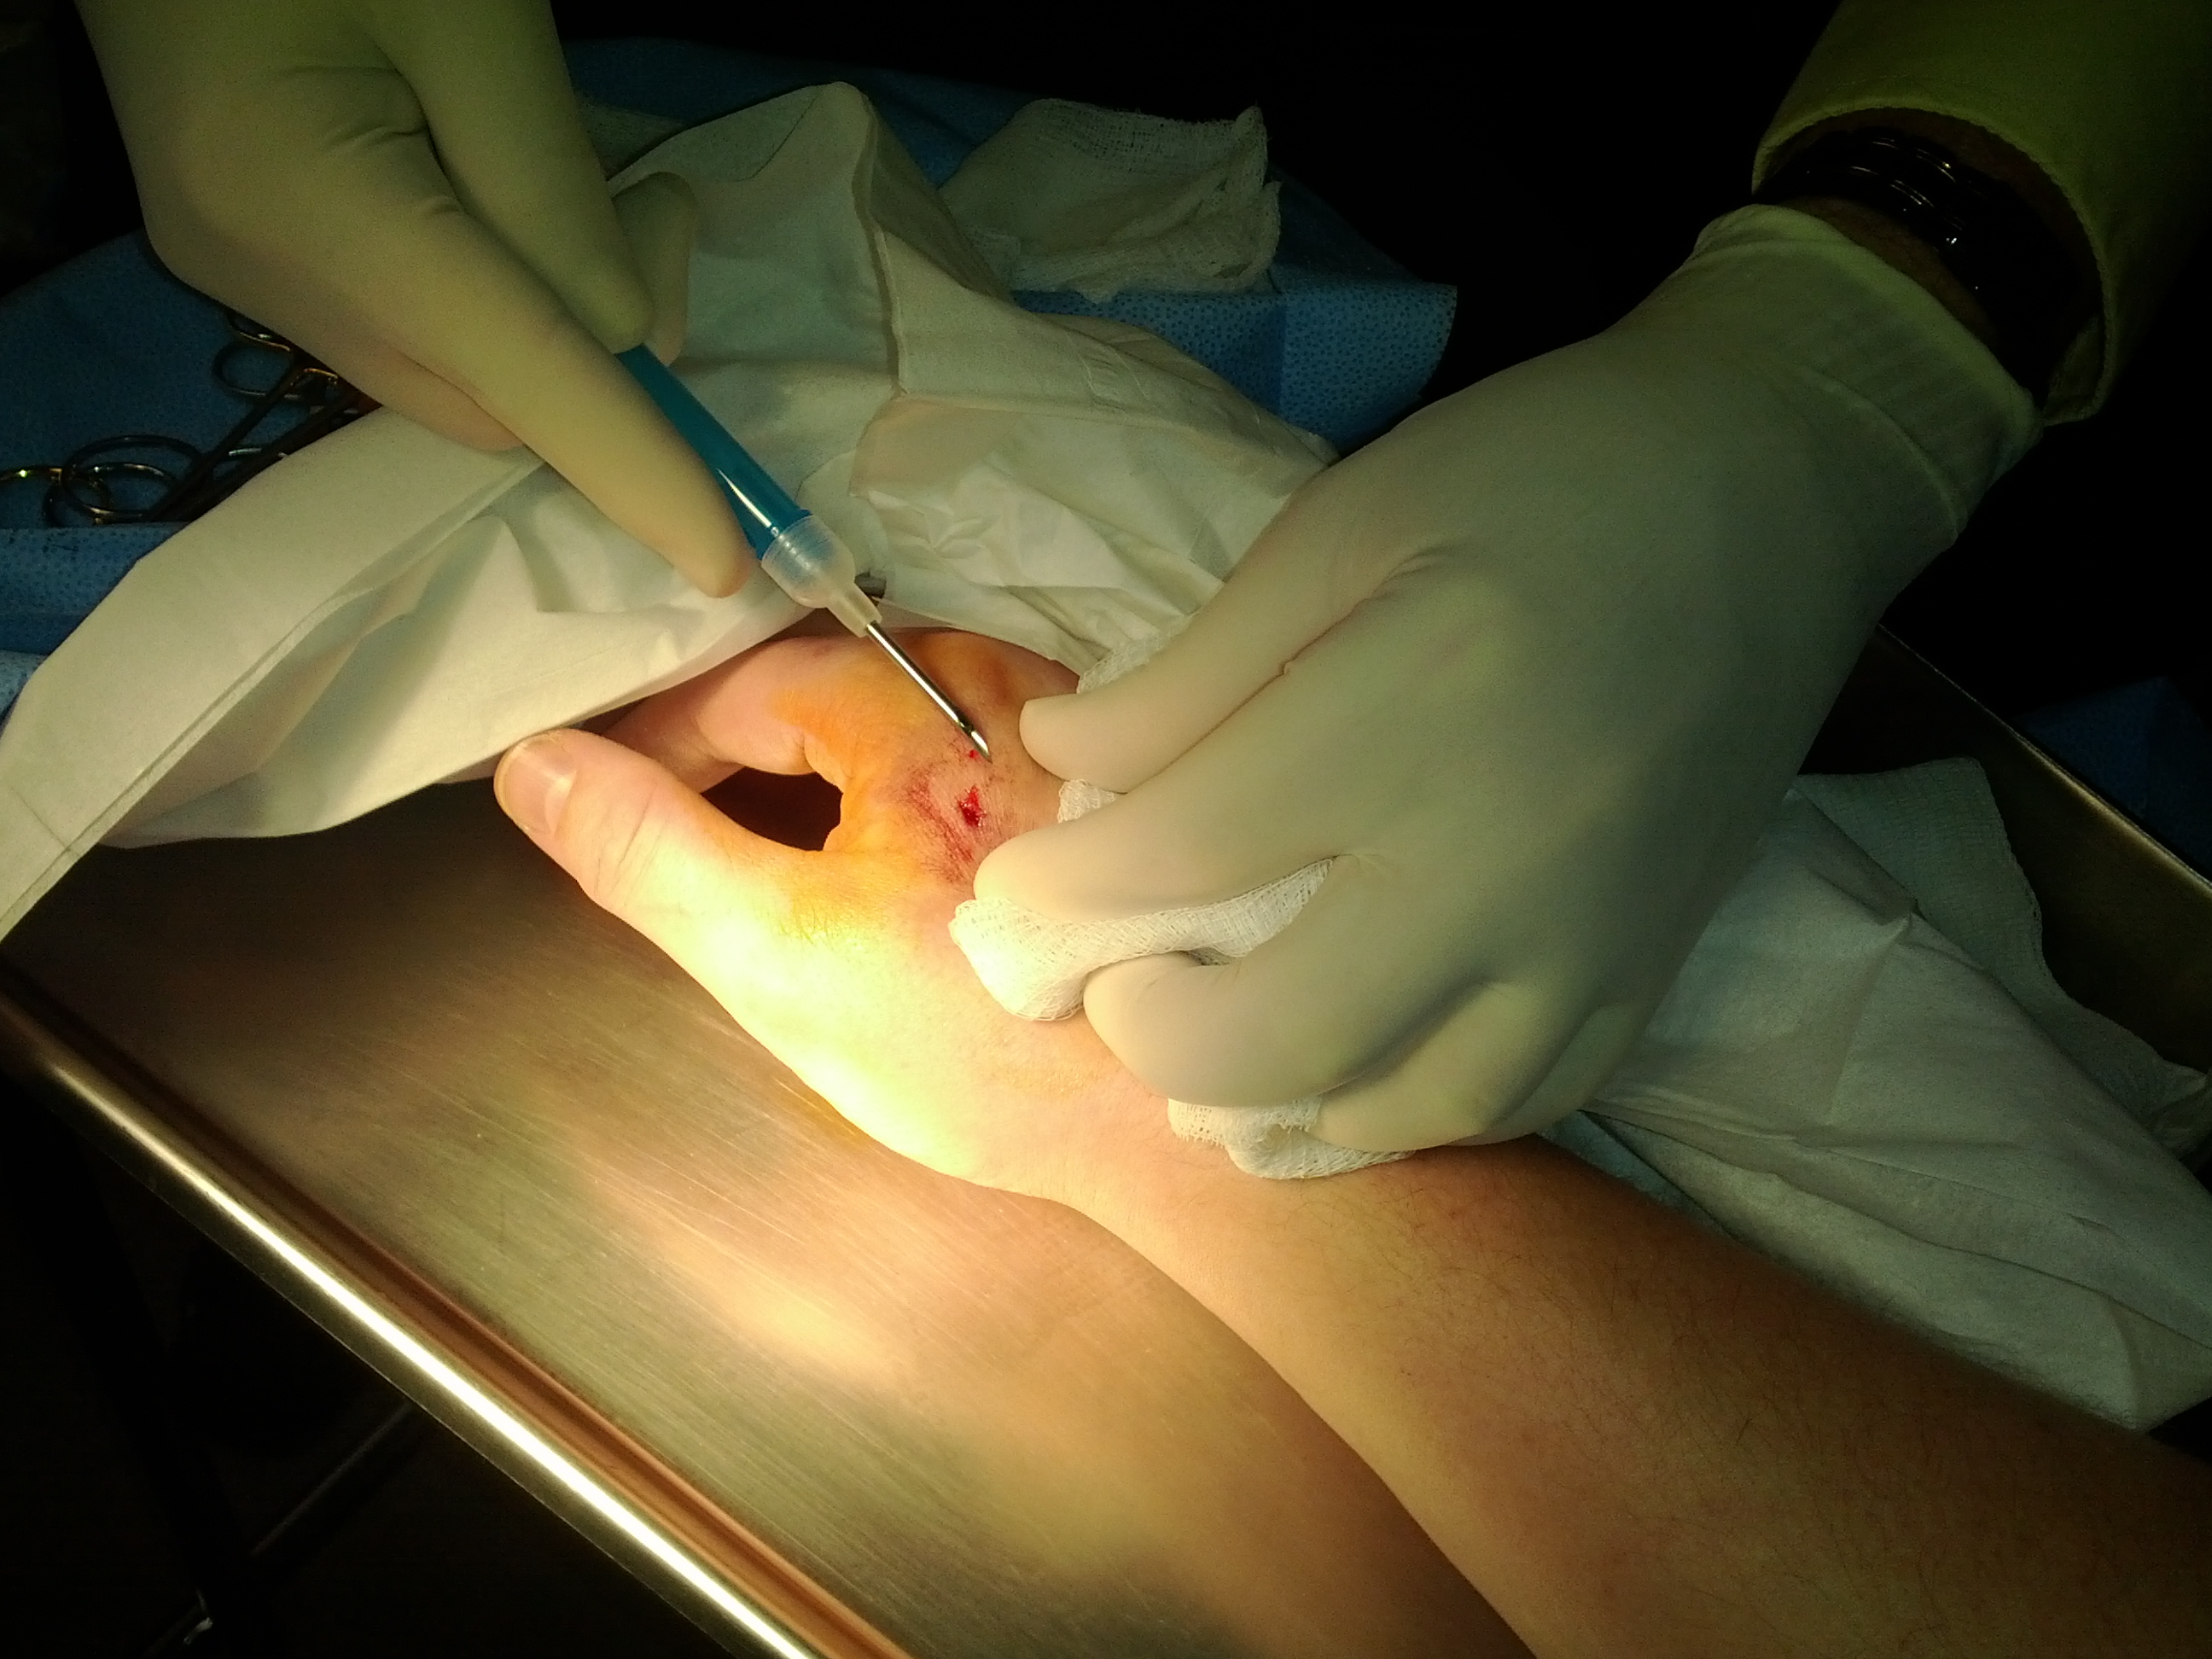
-
- Implanting new tag
-
- Removed HITAG
-
- Removed HITAG
-
- Aftermath
-
- Aftermath

-
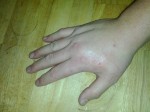
- Aftermath

