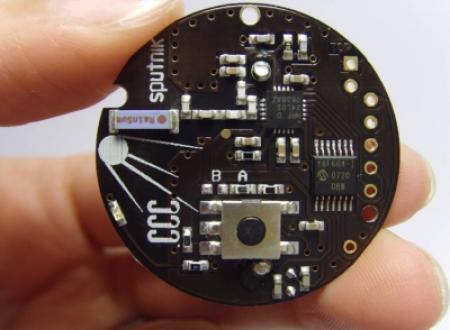




A while back I heard of this open source 2.4GHz active RFID platform called OpenBeacon. At the time I thought it was simply an open source active RFID system, which really only appealed to me because the end products might be cheap enough for broke hobbyists to play with. When time finally permitted me to read up about it, I realized that this was really something special.
What is OpenBeacon?
So far, my first and only complaint about the OpenBeacon project is that the hardware may just be TOO flexible, making comprehending the project and deciphering the user created wiki based documentation somewhat of a mess for newbs like me. After reading through various sites and pages, from OpenBeacon.org to BitManufaktur to https://shop.openpcd.org/ (where you can buy hardware), I found the best description of the OpenBeacon device and the OpenBeacon System came from wading through the wiki site;
An OpenBeacon is a a tiny device (45x45mm) that includes a 2.4MHz transceiver, a small microcontroller and a battery.
The beacon can be re-programmed in various ways. The most simplistic OpenBeacon Firmware implements a traditional beacon functionality, e.g. regularly sending a unique identity which is picked up in the vicinity of the beacon.
We refer to an OpenBeacon System as one specific set of hardware and software involving OpenBeacons that implement one specific function/application.
Since OpenBeacon is very flexible and reprogrammable, almost any OpenBeacon System will look different from the other.
However, many systems will fall into the following categories:
- 1. Master/Slave Systems
- 1.1 Classic RFID
- 1.2 Location Tracking
- 2. Peer-to-Peer/Mesh Systems
In short what that means is; the hardware is simply an RF communications platform upon which you can build whatever kind of RF application you want, be it a classic active RFID application, an RF mesh network application, or even a remote sensor network application. This is done by writing different firmware code for the OpenBeacon base stations and OpenBeacon “tags” and reprogramming them to do something different. So far I’ve found firmware for various OpenBeacon based projects on several different sites that house different versions of firmwares. Probably the most important one is the OpenBeacon sourceforge site.
Location Tracking
The most intriguing OpenBeacon based project I’ve seen so far is the CCC Sputnik project.
“The Sputnik project is a system for real time in-building location tracking using the OpenBeacon Tag. It was first implemented at the 23rd Chaos Communication Congress in December 2006.
The OpenBeacon Tag was used in combination with 25 base stations to facilitate in-building location tracking. The tags periodically transmit frames at different power levels. If the packet is received by one or more base stations, we can deduct some idea about its locality.
The base stations don’t exploit timing differences or triangulation but rather only use signal strength for positioning.
The output of the base stations is fed into the Chaos Positioning System (CPS), which provides some more high-level and abstract way of maintaining and distributing positioning information.”
So basically this system doesn’t use Time Difference of Arrival (TDOA) or Angle of Arrival (AOA), it simply uses signal strength (RSSI) to make a fairly accurate educated guess as to location of the tag. The odd thing is how this RSSI value is actually generated and derived, as I’ll explain later. The Chaos Positioning System (mentioned on the wiki quote above) takes data feeds from multiple base stations and performs this magic. I highly recommend checking out these videos (and these) of the CPS data being rendered using various visualization methods, it’s very cool. Unfortunately, the Chaos Positioning System is not, as far as I can tell, open source. I cannot find any downloads or code for it anywhere.
Seeing for myself
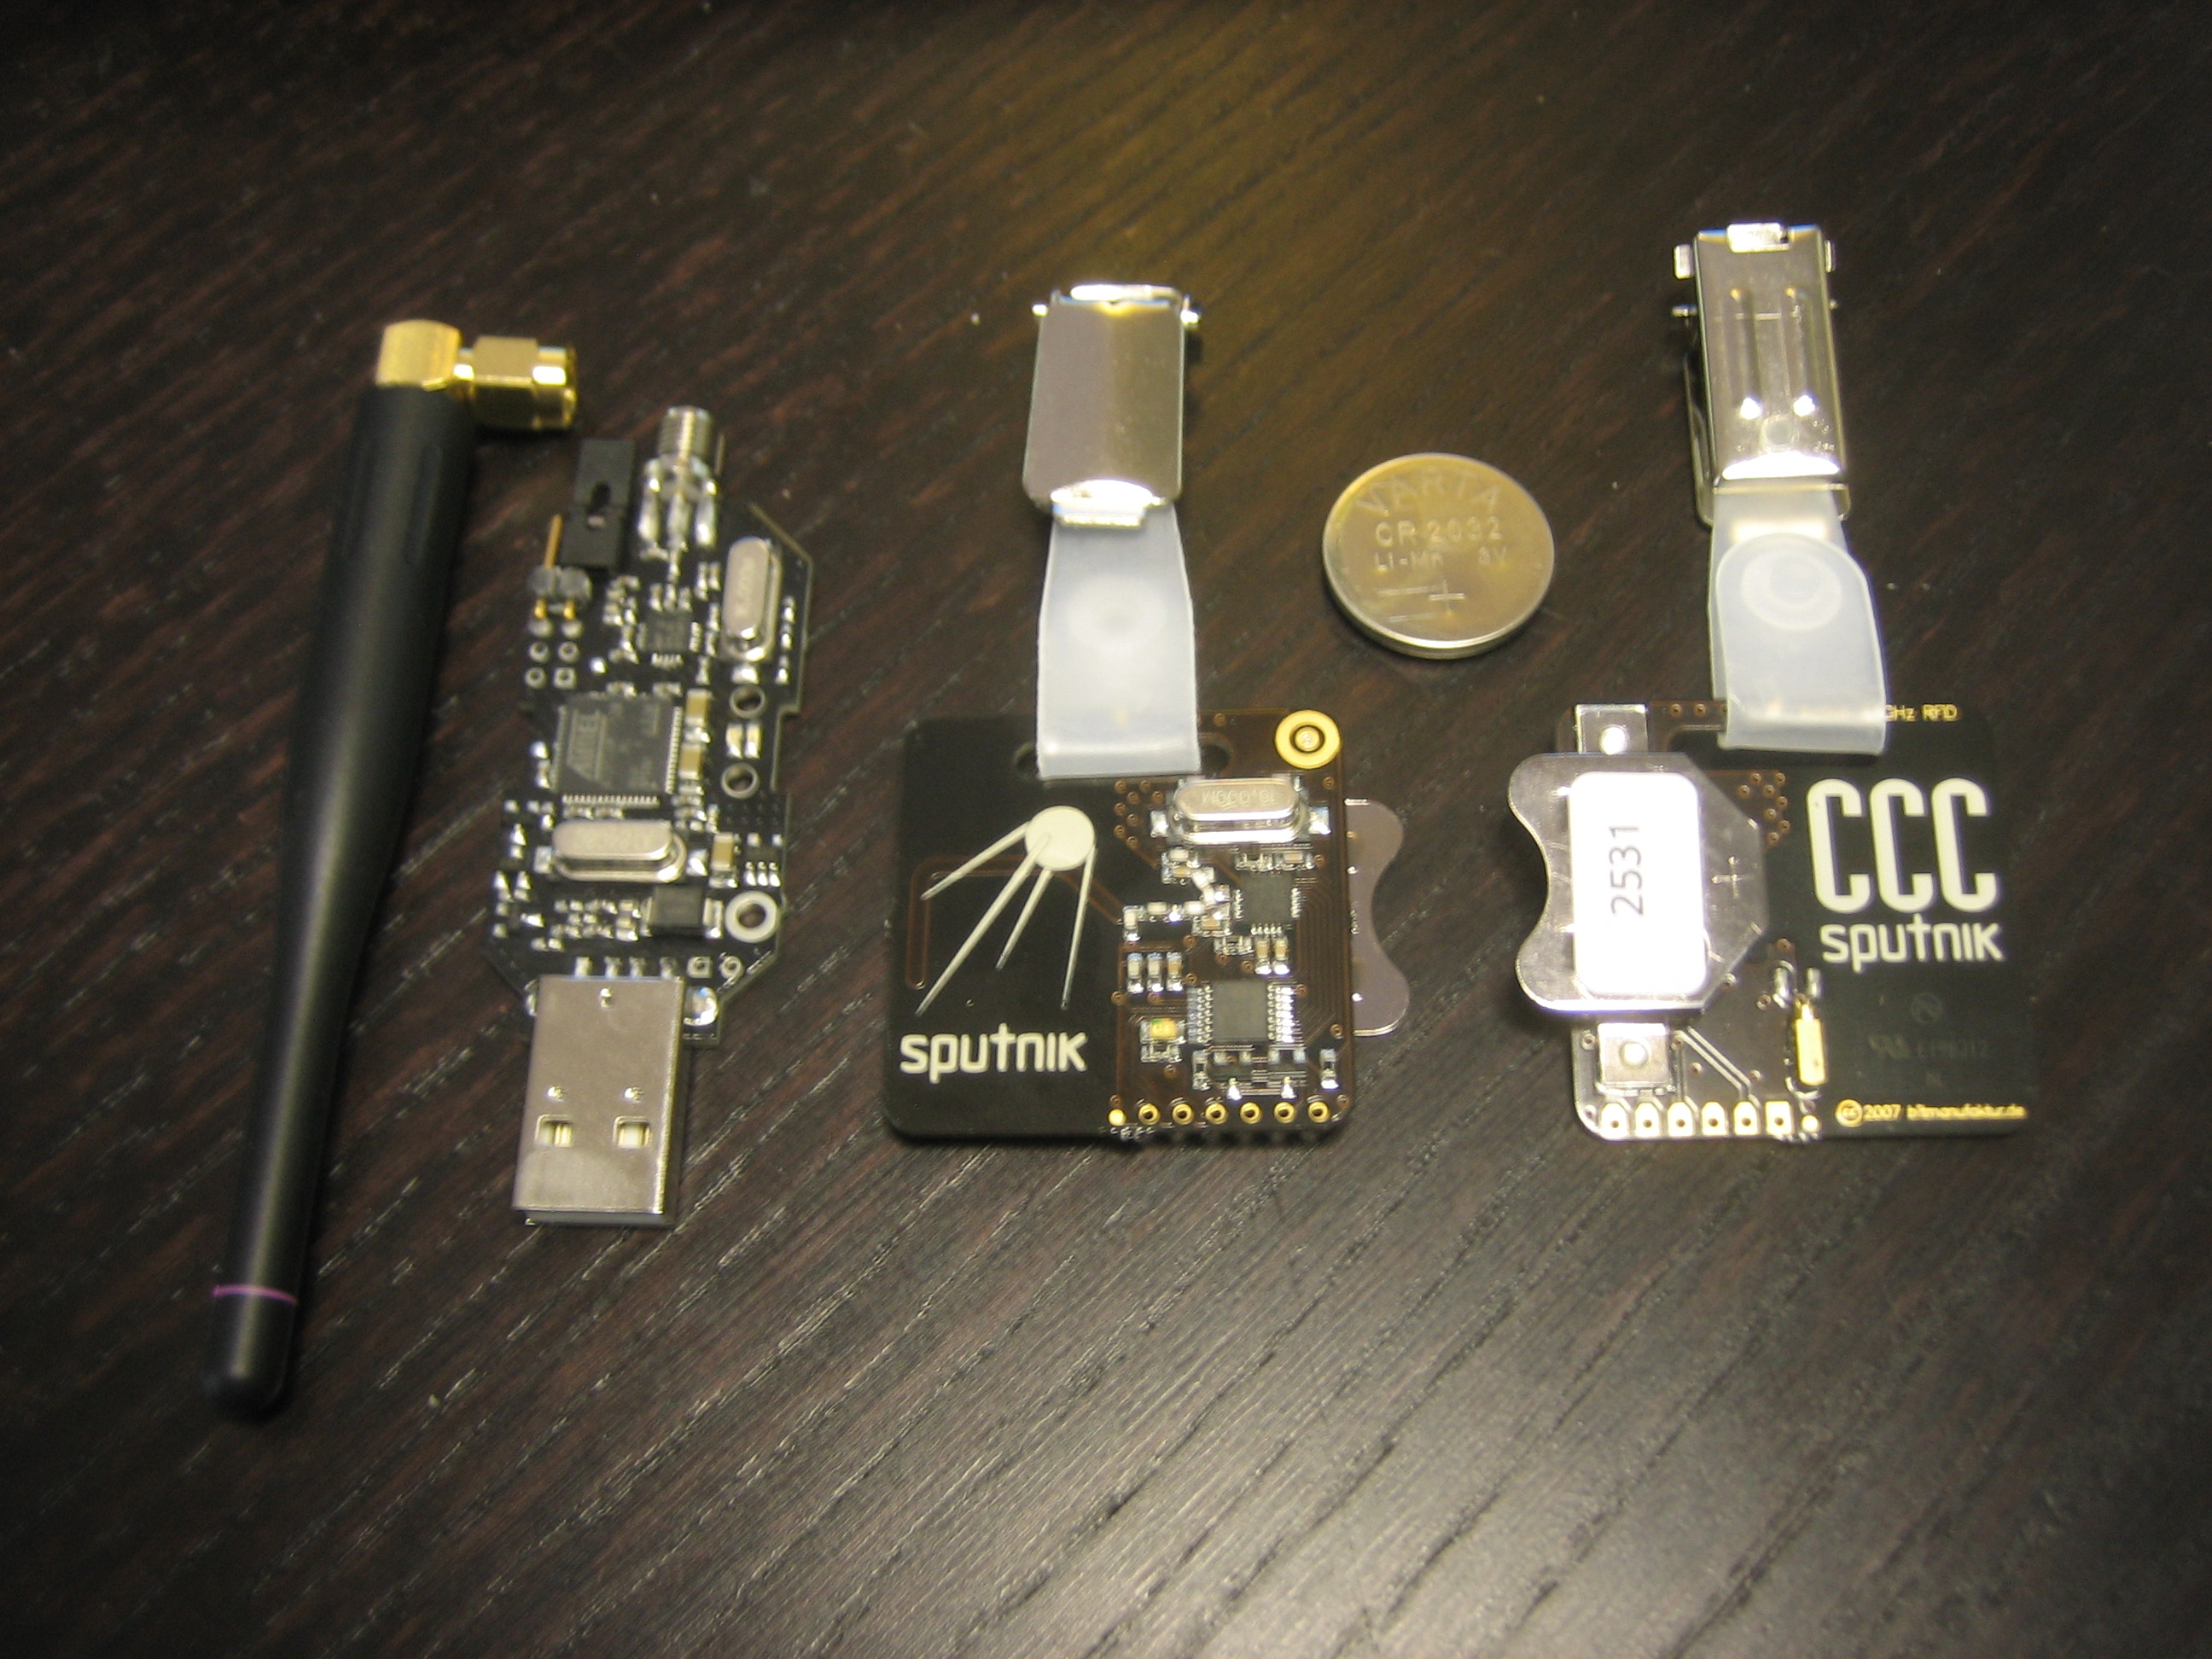
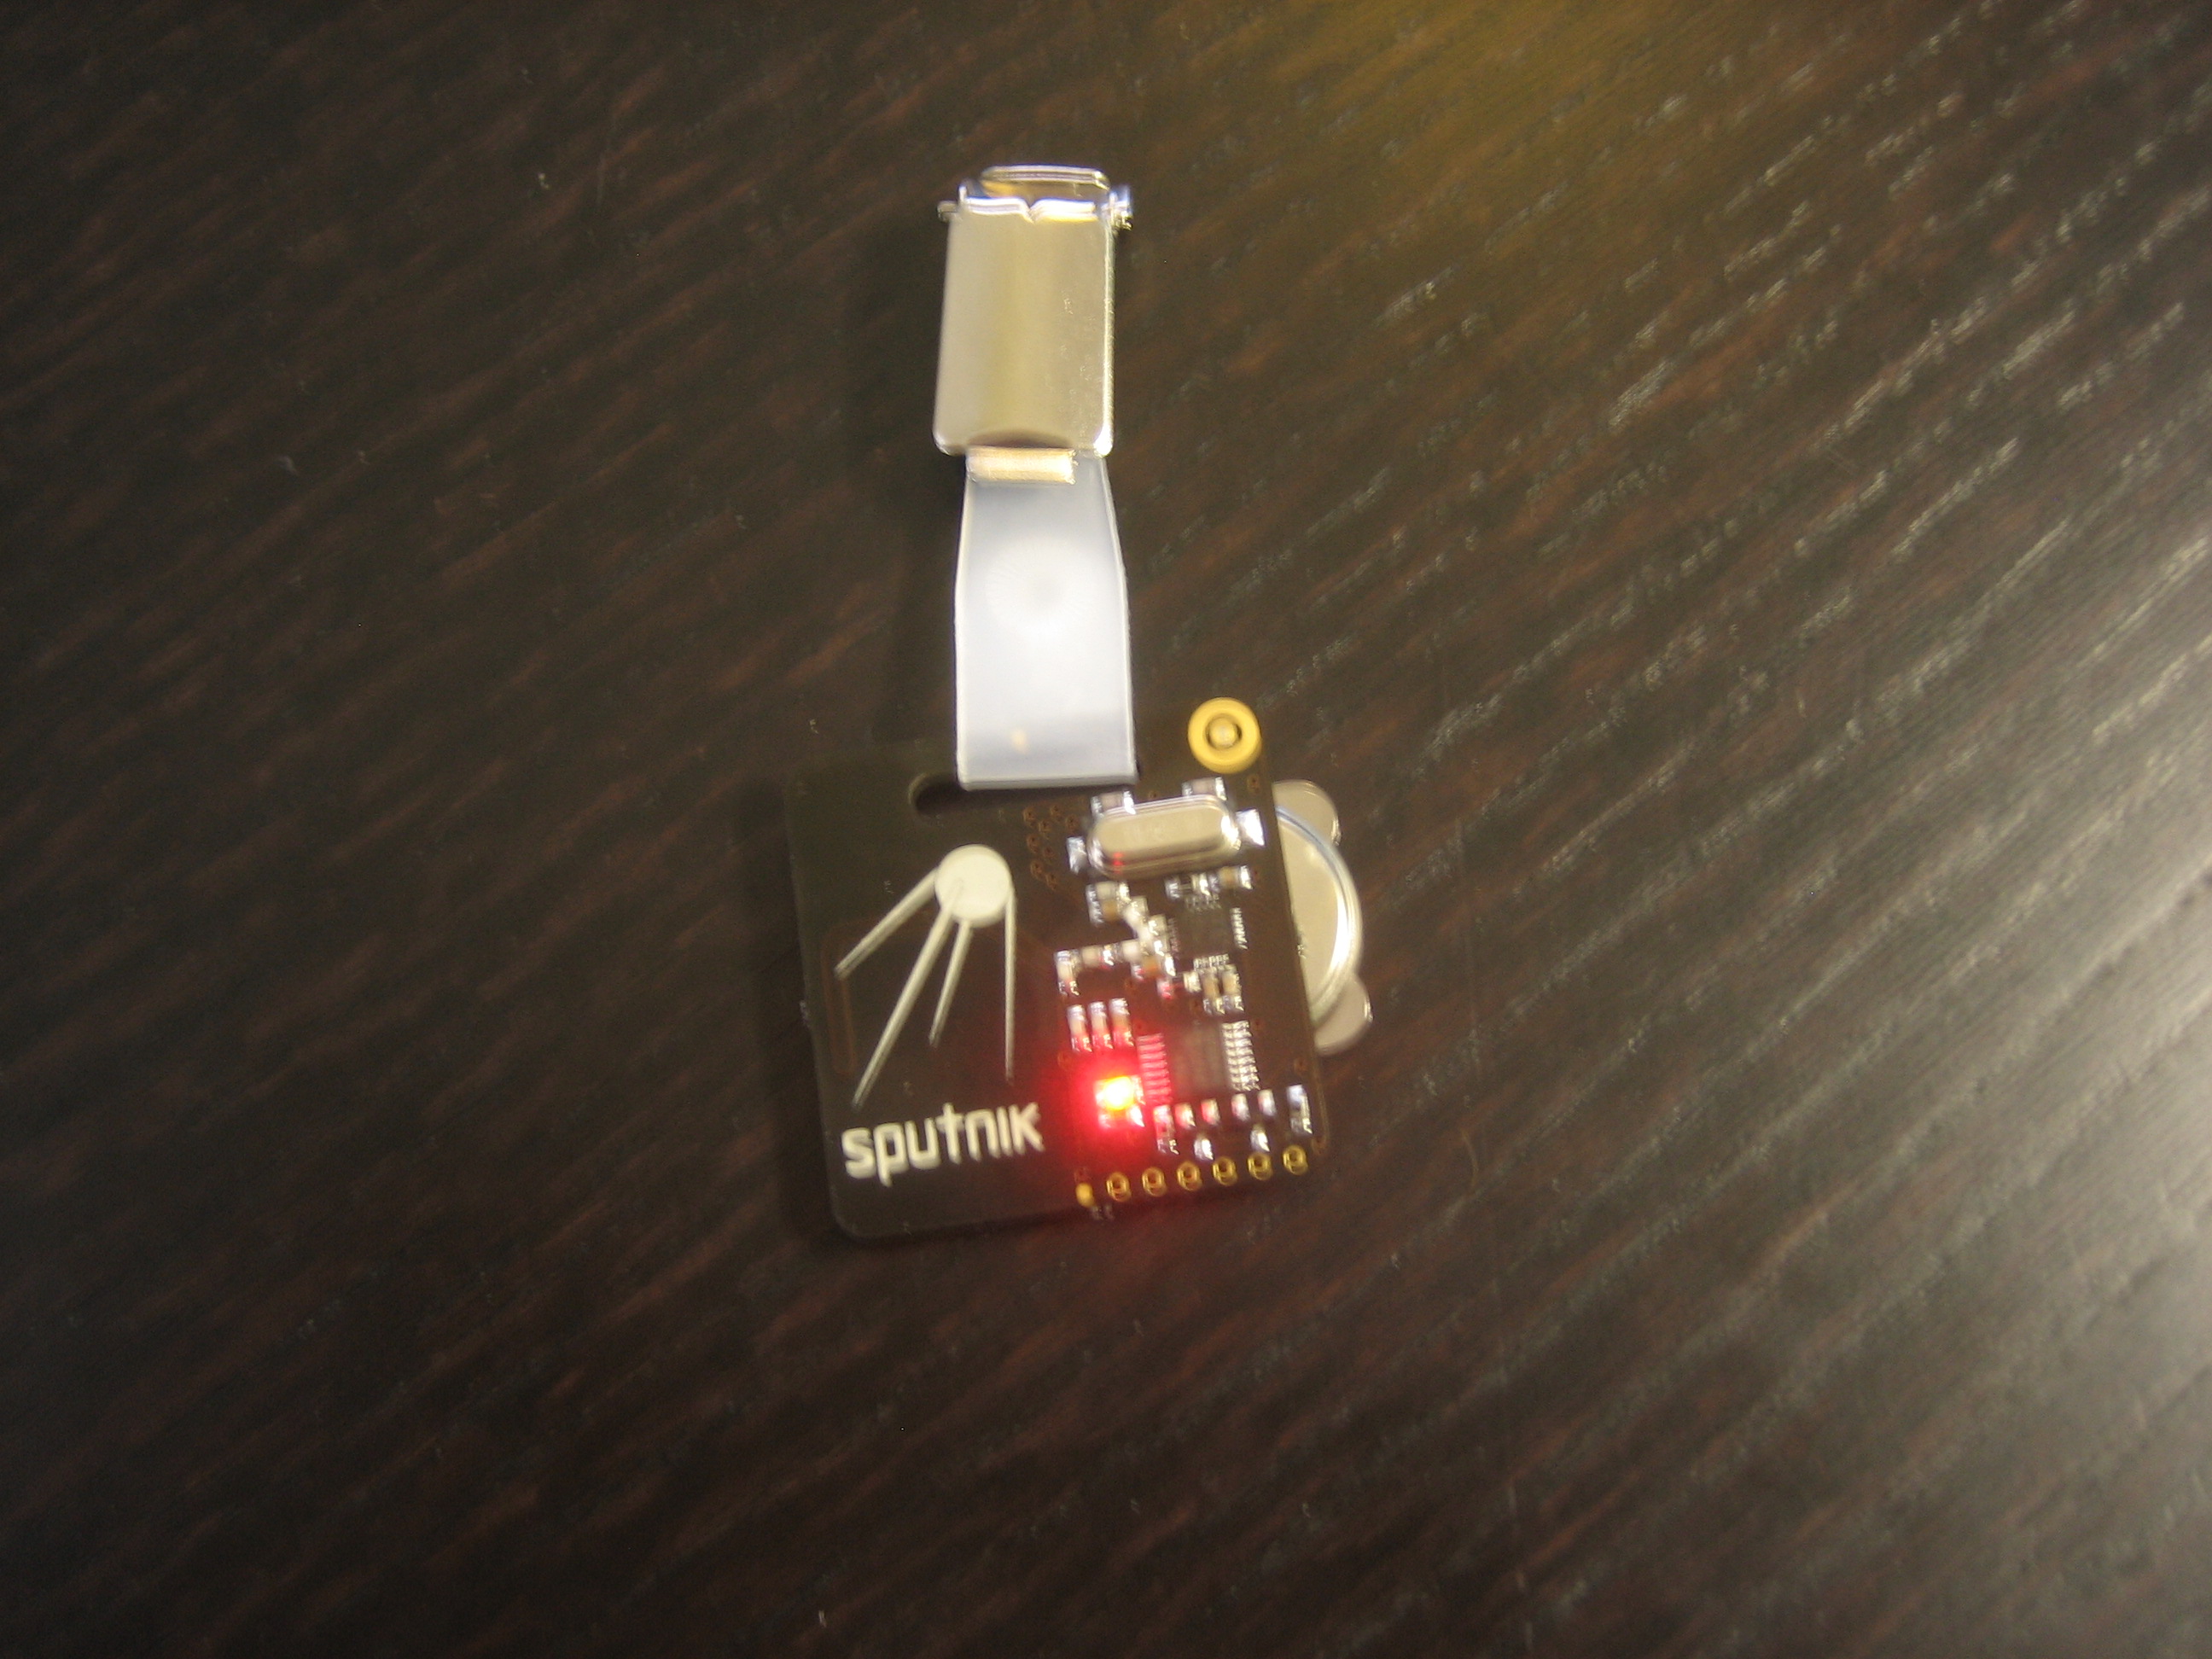
I was able to get my hands on an OpenBeacon USB stick base station and two v0.1 Sputnik “name badge” style “tags” to see for myself how well this system could work for my own applications.
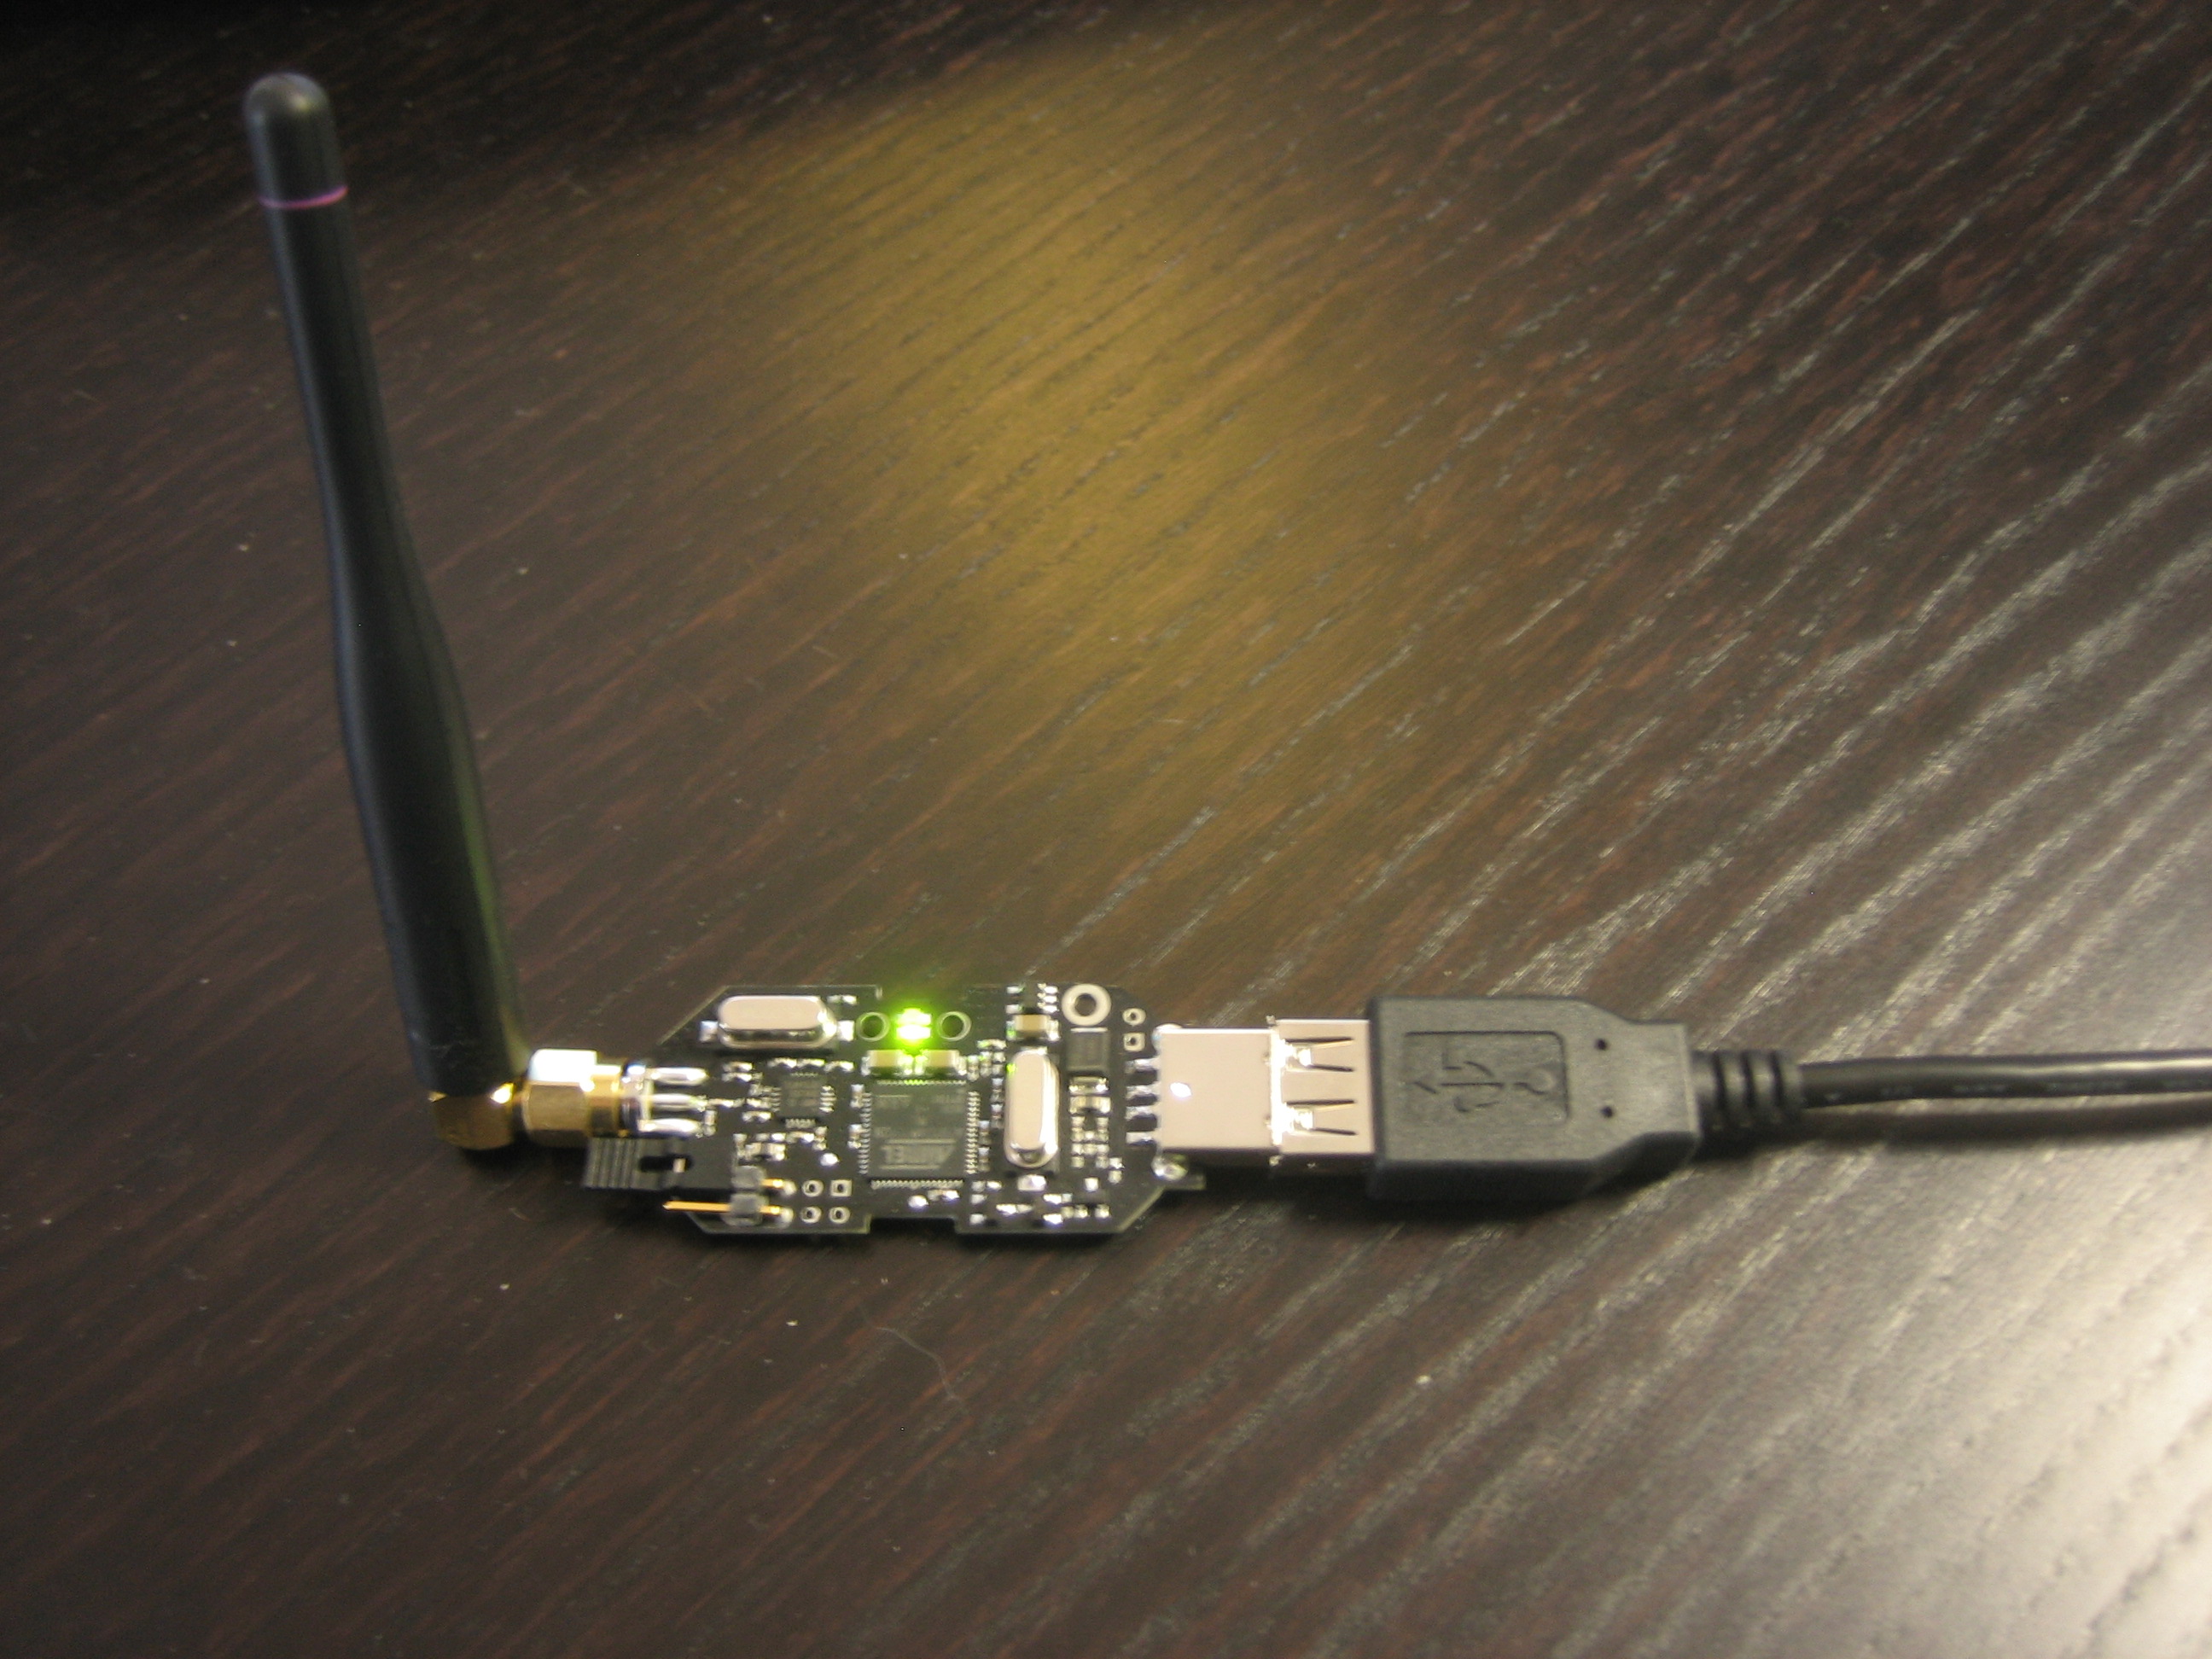
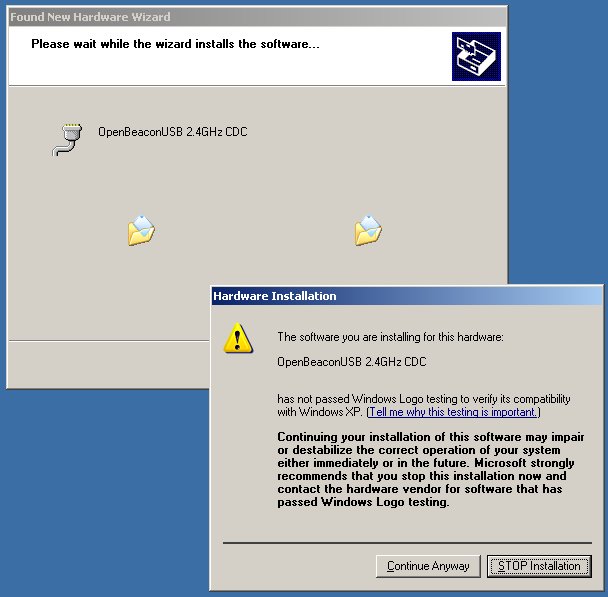
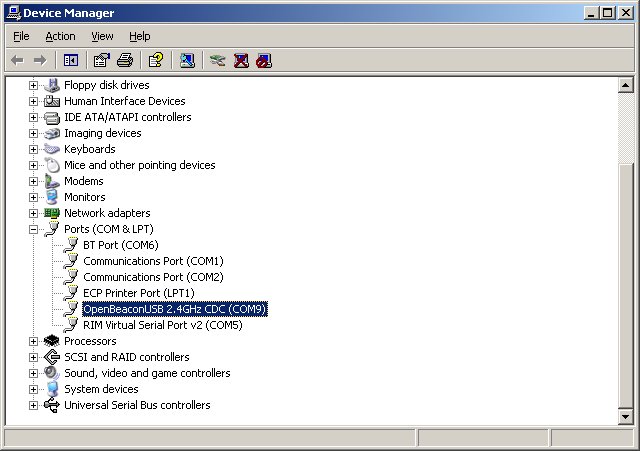
The first thing I did was to connect the USB stick to my XP box and install it using the OpenBeacon virtual com port driver.
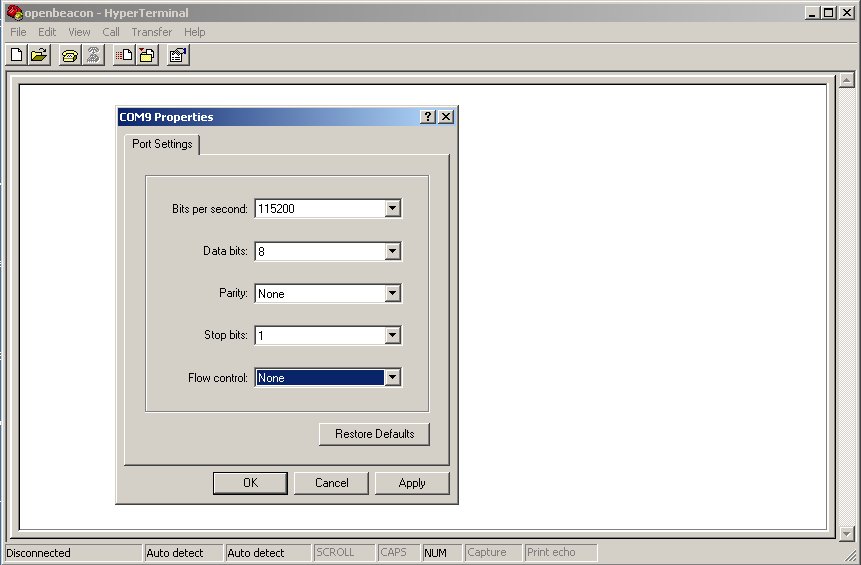
I then inserted a battery into one of the Sputnik “tags” and started up Hyperterminal to watch the data stream in.
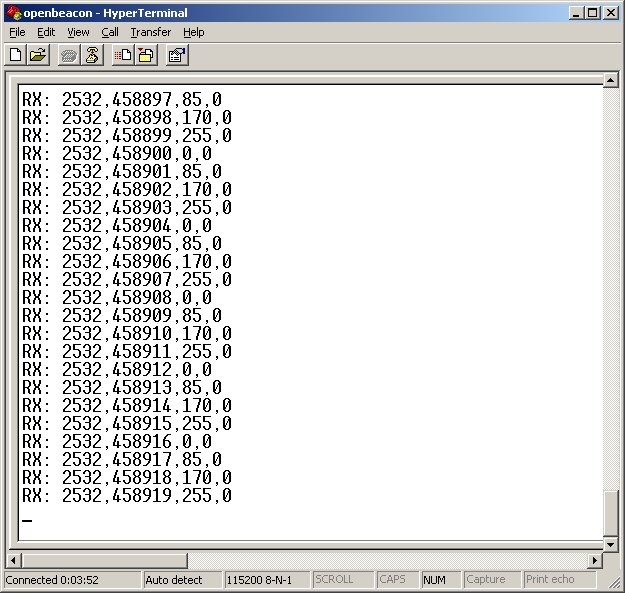
The first thing I wanted to know was “what was the schema for the data streaming in from the USB stick? What did the different comma delimited segments mean?” To find out, I had to dive into the firmware repository and search through the different versions to find code that output data in the same format I was seeing in Hyperterminal. There are several different versions of firmware the USB stick base station can run, but it turns out my USB stick came preloaded with “sniffer” firmware. After looking through the proto.c file, I found this section of code that gave me a good idea of what the data I was looking at actually meant:
DumpStringToUSB (“RX: “);
DumpUIntToUSB (swaplong (g_Beacon.pkt.oid));
DumpStringToUSB (“,”);
DumpUIntToUSB (swaplong (g_Beacon.pkt.seq));
DumpStringToUSB (“,”);
DumpUIntToUSB (g_Beacon.pkt.strength);
DumpStringToUSB (“,”);
DumpUIntToUSB (g_Beacon.pkt.flags);
DumpStringToUSB (“\n\r”);
So basically the first data segment is the tag ID, the next is a sequence counter number, the next is signal strength, and the last data segment is “flags” data. Now that I had the data schema, I was curious to find out what the “flags” data meant exactly. I could only assume it might have something to do with the six through-hole contacts at the bottom edge of the Sputnik tag. Luckily the FAQ page seemed to shine a light on that question for me:
1 VPP/RA3 (Square pin)
2 VDD
3 GND
4 ICSPDAT/RA0
5 ICSPCLK/RA1 (also connected to touch sensor)
6 PGM (seems to be unconnected)
To find out for sure, once again I dove into firmware files, only this time it was the firmware library for the Sputnik tag rather than the USB base station. I was able to find out that contact 5 was linked to CPU pin 1 and would indeed alter the flags data being transmitted, sending a 2 rather than a 0. I put it to the test by using a small length of wire to ground contact 5 to GND and sure enough, I received a 2 in the flags data segment.

This was great! I now had an active RFID tag that could not only transmit its ID but also a bit of conditional feedback as well! After getting a look at the next gen Sputnik v0.2 tag, it looks like these feedback features have been further integrated into the tag itself through the use of a board mounted push button.
Deriving RSSI, OpenBeacon style
Because the Sputnik location system is limited to calculating location based on signal strength alone, the tag’s Sputnik firmware steps the tag’s transmission signal strength from full strength to basically zero. This is evidenced by the Hyperterminal screenshot which shows a 25% RSSI step drop that cycles every 5th transmission. This RSSI stepping helps the Sputnik location system come to a more accurate conclusion as to the tag’s location.
The odd thing is how that RSSI value is derived and why its stepped like that. A typical active RFID system uses tags that transmit at a constant signal strength (full power), while the receiver makes the determination as to how “strong” the incoming signal is by cross checking incoming signal strength against an expected full strength signal value. This is usually reported as a integer value between 0 and 255. The hurdle for the OpenBeacon hardware project must have been to find a cheap, low power transceiver that was able to report signal strength that also fit well with the rest of the hardware and the stated goals of the project. To solve this issue, they did something ingenious… the tag itself varies its own transmit power and sends the output power level as part of the data stream.
So, in effect the Sputnik system will give you a 4 step RSSI resolution: 255, 170, 85, and 0. If you receive a serialized data packet with a “strength” data segment value of 0, then the tag is very close to the base station because it was able to pick up the tag’s data transmission even though the tag was transmitting at it’s lowest output power level. So here are the respective distances as they correspond to strength values:
- 0 = Very Close
- 85 = Close
- 170 = Near
- 255 = Far
Obviously if you don’t receive any data packets at all then the tag is out of range.
The important thing to note here is that this approach keeps hardware costs down and still gives you enough resolution to effectively do the job for most applications. The only difference between creating an RFID locating/tracking system using the OpenBeacon system and a “standard” system is that you’ll probably need to strategically place a lot more OpenBeacon base stations in the monitored area to get an accurate location estimation than you would if you deployed a much more expensive “standard” active RFID system that had higher 255 step RSSI resolution.
However, the value of having an open hardware platform at an extremely low cost may still put you ahead economically even if you did have to buy more base stations. The OpenBeacon system also has a couple other things going for it over standard active RFID systems; Sputnik tags have a much faster ping rate than other RFID systems, which only transmit once every second to 10 seconds (depending on the tag’s factory set configuration). This faster transmission rate allows for a location to be calculated much closer to “real time”, which makes displaying and interacting with tracking data much more fluid. Because the hardware is open, you are able to change this ping rate at will (which directly affects battery life) based on your application requirements. OpenBeacon tags are also designed to be caseless (bare board), enabling quick access to the board and battery… both of which are good things for the curious types and those who value their personal privacy alike.
Other firmware versions
Along with the sniffer firmware, there are other firmware versions available in the repository. One firmware version that interested me was called “estimator”. The difference between the sniffer firmware and the estimator firmware is that the former just sniffs incoming beacon traffic and outputs it row by row when a signal of any strength is detected. The estimator firmware counts the incoming packets and estimates the order of distance to the receiver. It then outputs all nearby received tag ids in one row. This is useful when you have several moving tags in action around a static base station, or several static tags and one moving base station.
Hello World
Even though I was free to change the firmware in both my tags and USB base station, I decided the first thing to do was to write a basic “hello world” type application that could process the data stream coming in from the USB base station (node) and display all active tags, their “maximum” signal strength (0 being “max”, 255 being “min”) and their average signal strengths. That average is calculated by averaging the maximum signal strength received over the last 10 data frames. That application is simply named “Sputnik“.
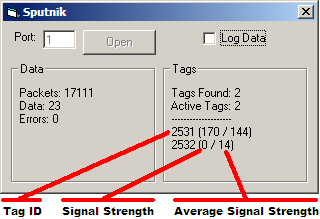
Overall, I’m very impressed with the OpenBeacon RF platform due to it’s balance of economy, function, and flexibility. While putting this basic application together, thoughts of some real-world applications began to form and swirl in my head. I can’t wait to get started.
Tags: active rfid, review, rfid, rssi, tracking